Scenes, helpers, and groups
These three built-in Home Assistant building blocks require no additional integrations. Once you understand them, helpers can replace much of the state-handling logic that might otherwise require extra automations or custom templates.
Scenes: apply a predefined state with one action
A scene is a snapshot of the desired states of a set of entities. When you activate it, Home Assistant applies all of those stored states together.
service: to action: and from service_data: to data:. Beginning with 2024.10, automations use the plural section keys triggers:, conditions:, and actions:, while each trigger definition changed from platform: to trigger:. Developer Tools moved into Settings in 2026.2 and was shortened to Tools in 2026.8; the path is now Settings → Tools. This page uses the current syntax. Home Assistant still understands supported legacy keys, so you do not need to rewrite every existing automation at once.Method 1: Capture the current state
-
First, adjust your home manually
For example, set the main light to 40%, the accent light to purple, the air conditioner to 26°C, the curtains to 30%, and the speaker to Bluetooth input.
-
Go to Settings → Automations & scenes → Scenes → + Add scene
Select “Create from current state,” choose the entities to include, and save. Home Assistant stores their current values as the scene snapshot.
Figure B-1 Creating a scene from the current state is the quickest and most intuitive method. -
Name it—for example, “Movie mode”—and save
Its entity ID will be
scene.movie_mode.
Method 2: Enter each entity’s target state manually
This method is useful when you want to prepare a “holiday” scene but cannot put every device into that state right now—for example, when testing it would disturb the neighbors at midnight. Start with a blank scene, add each entity, and enter its target state.
Activate a scene
- Dashboard: add a Button card, set its action to
scene.turn_on, and selectscene.movie_modeas the target. - Automation: add
scene.turn_onto the actions section. - Voice assistant: expose the scene, then say “Movie mode.”
Advanced: add a transition
A scene normally applies its stored states immediately. When activating it, you can add transition: 5 so supported light entities fade to their target state over 5 seconds:
action: scene.turn_on
target:
  entity_id: scene.movie_mode
data:
  transition: 5
Scenes versus scripts
Script: Can include ordered actions, delays, conditions, and loops, but you must define each action step by step. In older Home Assistant terminology, actions were called services.
Common combination: Call a scene from a script. A “Movie mode” script might activate the “Movie lighting” scene, wait 2 seconds, close the curtains, and turn on the TV.
Helpers: give your logic a memory
A helper is a virtual entity built into Home Assistant. It has no corresponding physical device, but it has a state, can appear on a dashboard, and can serve as an automation trigger or condition.
Why use one? Individual automation runs do not provide shared memory. To share a value between automations—such as whether guest mode is enabled—use a helper as a common variable.
Path: Settings → Devices & services → Helpers, then select “+ Create helper.”
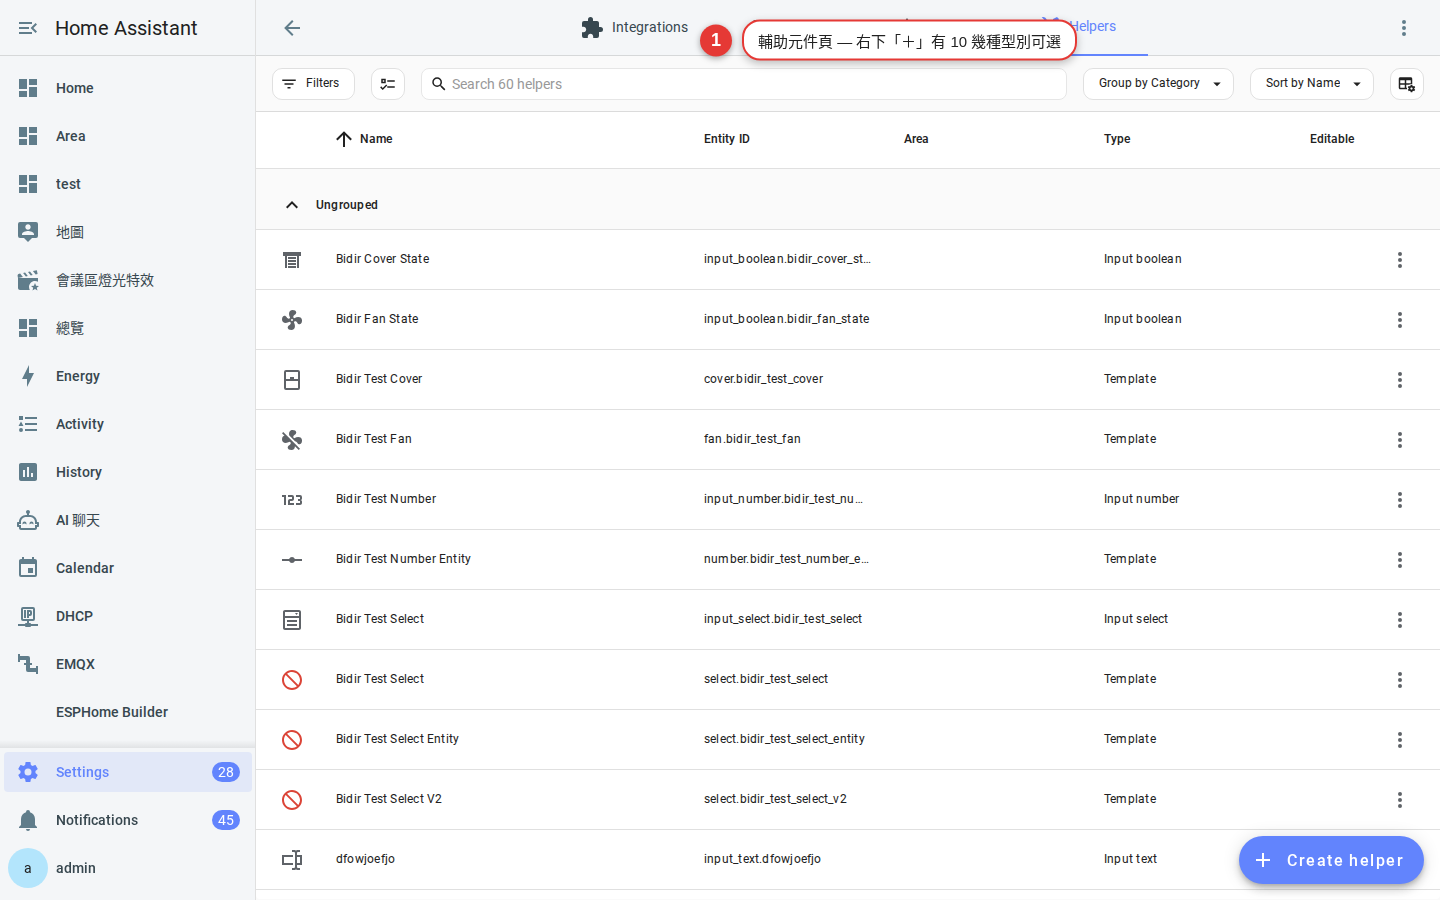
Helper type quick reference
1. input_boolean — on/off toggle
This is the most widely useful helper. Typical examples: Guest mode, Vacation mode, and Sleep mode.
- Create: select “Toggle,” name it “Guest mode,” and use the entity ID
input_boolean.guest_mode. - As a condition: in a “Turn on the lights at sunset” automation, require the helper to be off—shown in shorthand as
input_boolean.vacation_mode == off—so the lights remain off while you are away. - As a trigger: when
input_boolean.guest_modechanges to on, notify the homeowner that a guest has arrived. - On a dashboard: add it to an Entities card or Tile card so anyone in the household can change it.
2. input_number — adjustable number (slider or input field)
Move a “magic number” out of an automation so household members can adjust it without opening the YAML editor.
- Example:
input_number.motion_light_brightnessstores the brightness used when motion turns on a light. Move the slider when you want dimmer light at night. - Reference it in an automation:
brightness_pct: "{{ states('input_number.motion_light_brightness') | int }}"
3. input_select — drop-down list (choose one option)
Classic use: a household state machine. Create input_select.home_mode with the options [Home, Away, Sleep, Guest, Vacation], then use its current value as a condition throughout your automations.
Benefit: A single, centrally managed mode avoids contradictory combinations of 5 separate Boolean helpers.
4. input_text — text string
Typical uses include notes, labels, and dynamic string references. For example, input_text.tv_url can store a livestream URL that a media button passes to play_media.
5. input_datetime — date, time, or both
Let household members set values such as a wake-up time or water-heater start time. Select this entity in an automation’s time trigger so the automation runs at the chosen time.
triggers:
  - trigger: time
    at: input_datetime.wake_up_time
6. timer — countdown timer
A timer is more flexible than a delay: you can inspect its remaining time, cancel it, and trigger an event when it finishes.
- Create: select “Timer” and, if needed, set a default duration such as
duration: "00:05:00". - Start: call
timer.start; you can passdurationto override the default. - Cancel: call
timer.cancel. - Trigger on completion: use an event trigger with
event_type: timer.finished. - Classic pattern: Keep a motion-activated light on for 5 minutes. Motion turns on the light and starts the timer; when the timer finishes, another automation turns off the light. Calling
timer.startagain restarts an active timer.
7. counter — integer counter
Increment, decrement, or reset it. Use a counter to track values such as how many times a door opened today or how many times you watered plants this week, then display the total on a dashboard.
8. input_button — momentary button
Unlike an input_boolean, it does not remain on after it is pressed; each press simply updates the button event. It is useful for one-off dashboard actions such as “Refresh data” or “Send a test notification.”
9. schedule — weekly schedule
Define time blocks on a weekly grid. For example, “Working hours” might run from 09:00 to 18:00, Monday through Friday. The entity’s state changes automatically between on and off according to the current time.
A schedule is easier to maintain than several handwritten time conditions, and household members can adjust its time blocks from the dashboard.
10. Template, Threshold, Derivative, Statistics, and more
The same page also provides advanced helpers, including Template sensors, Threshold binary sensors, Derivative sensors, and Statistics sensors. For example:
- Threshold: Convert the numeric value of
sensor.pm25intobinary_sensor.air_bad, which turns on above 35. This makes automation conditions easier to read. - Statistics: Calculate a value such as the average temperature over the past 24 hours. For a daily meter total, use the Utility Meter helper instead.
- Derivative: Calculate a rate of change, such as the rate of power-consumption change or temperature rise.
Groups: combine multiple entities into one
A Group helper combines multiple entities of a supported type into one new entity. The new entity’s state is derived from the states of its members.
Common uses
- Light group:
light.livingroom_all= main light + accent light + floor lamp, so you can turn them all on at once. - Switch group:
switch.holiday_lights= 5 smart plugs for holiday lights. - Binary sensor group:
binary_sensor.any_window_open= 5 window contact sensors; it is on when any window is open, which is useful for a pre-departure check. - Person group:
group.family= 4 people; its state is home when anyone is home.
Create a group
Go to Settings → Devices & services → Helpers → “+ Create helper” → “Group.” Select a type—Light, Switch, Cover, Binary sensor, Media player, Fan, Lock, or Sensor—then select its members.
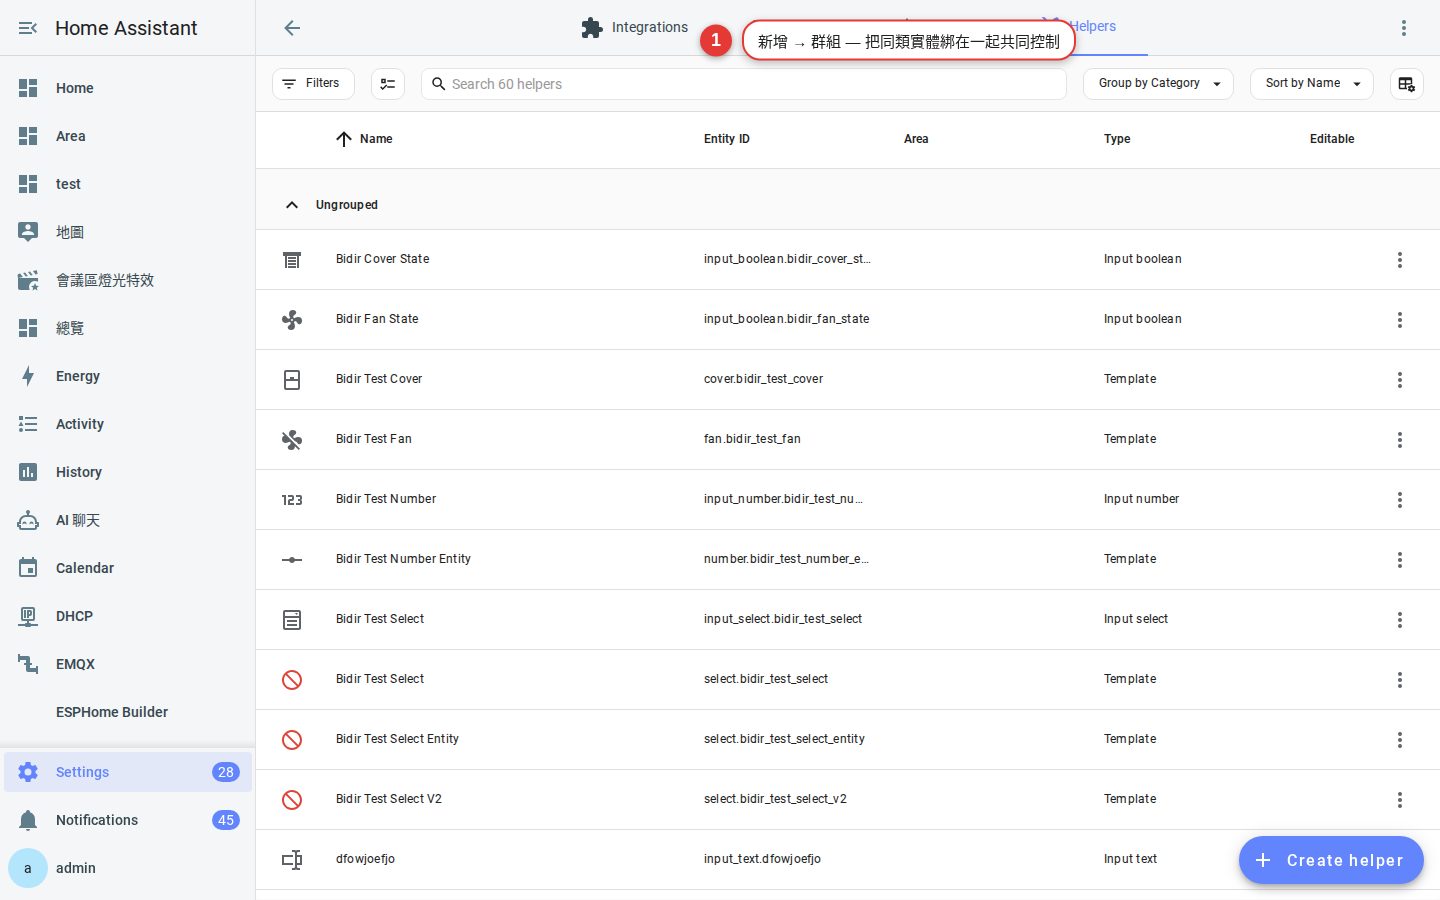
Aggregation behavior
| Type | Default state logic | Configurable option |
|---|---|---|
| Light / Switch | Any member on → group on | Require all members to be on |
| Binary sensor | Any member on → group on | Require all members to be on |
| Sensor | Numeric aggregation (min / max / mean / median / sum / last / range) | Select the aggregation method when creating the group |
Control every member through the group
In shorthand, light.turn_on target: light.livingroom_all applies the action to every member. This is cleaner than selecting 5 entities in every automation, and adding another light later requires changing only the group membership.
- Group: An explicit member list aggregated into a new entity with its own meaningful state.
- Area: A physical location whose assigned entities can be targeted together; ideal for commands such as “Turn off everything in the living room.”
- Label: A tag that can span areas and domains; ideal for conceptual collections such as “All main lights” or “Outdoor devices.”
Combined example: a bathroom night-light system
Combine a scene, helpers, and a group to build a bathroom night-light system triggered by motion. The design goals are:
- When someone enters the bathroom late at night, turn on only a soft night-light—not the glaring main light.
- After 5 minutes without a new motion event, fade out the lights.
- Do nothing during the day, based on daylight or a schedule.
- Let household members adjust the brightness.
Build it
- Create a group:
light.bathroom_all= main light + mirror light + night-light. - Create a scene:
scene.bathroom_night_soft= only the night-light on, at a fixed soft brightness. A scene stores literal target states; it cannot read the current value ofinput_number.bathroom_night_brightnessdynamically. - Create helpers:
input_number.bathroom_night_brightness(1–100, default 20) for a helper-driven variant of the light action.timer.bathroom_light(default 5 minutes).schedule.night_time(22:00–06:00).
- Create the motion automation:
alias: Bathroom night-light motion triggers: - trigger: state entity_id: binary_sensor.bathroom_motion to: "on" conditions: - condition: state entity_id: schedule.night_time state: "on" actions: - action: scene.turn_on target: { entity_id: scene.bathroom_night_soft } - action: timer.start target: { entity_id: timer.bathroom_light } - Create another automation for “timer finished → turn off the lights”:
alias: Turn off bathroom motion light triggers: - trigger: event event_type: timer.finished event_data: { entity_id: timer.bathroom_light } actions: - action: light.turn_off target: { entity_id: light.bathroom_all } data: { transition: 3 } - Add a “Brightness” slider to the dashboard with an Entities card for
input_number.bathroom_night_brightness. The scene-based YAML above uses a fixed brightness, so the slider becomes functional only if a script or automation uses the helper value in a templated light.turn_on action.
Frequently asked questions
Can a scene change dynamically—for example, can its brightness depend on the time of day?
Is helper data included in backups?
Does one unavailable group member make the entire group unavailable?
unavailable. Exact behavior also depends on the group type and its aggregation options.Will deleting a helper break automations that use it?
Is a Timer accurate enough for a 30-second cooking timer?
timer, add restore: true to retain its state and remaining time across restarts.