Your first automation
The previous 7 chapters covered your home's structure, naming, dashboards, and notifications. In this chapter, you will create your first automation and bring Home Assistant to life.
Why this matters
Automations are at the heart of Home Assistant—and what sets it apart from an ordinary smart-plug app.
If you use Home Assistant only as a web page for remotely switching lights, it offers little more than Xiaomi or Google Home. Home Assistant becomes truly worthwhile when it can:
- Act according to the time, such as at sunset or 7:00 every morning.
- Respond to a sensor, such as when someone enters, the temperature gets too high, or electricity costs exceed a set amount.
- Evaluate multiple conditions, such as whether someone is home, it is dark, and it is a weekday.
Without automations, Home Assistant is merely an expensive remote control. From this chapter onward, we will turn it into an automated household assistant.
The three-part model: trigger, condition, action
Every Home Assistant automation consists of three building blocks. Remember them, and you will be able to make sense of any example you encounter:
- Trigger: When Home Assistant should start evaluating the automation—for example, at sunset, when a particular button is pressed, or when the temperature exceeds 28 degrees.
- Condition: Whether the automation should actually run after it is triggered—for example, turn on the lights only when someone is home, or sound an alarm only on non-holidays. Conditions act as filters.
- Action: What should actually happen—for example, turn on a light, send a push notification, play music, or close the curtains.
The device_id and entity_id trap
This is widely recognized as one of the biggest pitfalls in the Home Assistant community, and it is why many automations “suddenly stop working” after a while.
When you create an automation in the UI, Home Assistant may use a device as the trigger—for example, “when this living-room light device turns on.” Although this seems intuitive, it ties the automation to the identifier of that physical hardware (device_id). If you replace the light, pair it with Zigbee again, or remove and re-add its integration, the device_id changes. The entire automation may then stop working, with no error message; it simply does nothing.
entity_id for all automation triggers and actions—for example, light.livingroom_ceiling—rather than device_id. In the UI, choose an “Entity” option rather than a “Device” option.An entity ID is a logical name: the identifier you assigned yourself in Chapter 4. If you replace a device or reinstall an integration, assign the new device the same entity ID and all entity-based automations can reconnect without further changes.
This is why Chapter 4: Naming and labels matters so much: a good entity ID is the foundation of maintainable automations.
Further reading: Home Assistant community discussion: why and how to avoid device_id.
Hands-on: turn on the living-room light at sunset
We will build the classic “lights on at sunset” example. The goal is to turn on the main living-room light 30 minutes after sunset and send a push notification to your phone.
trigger: → triggers:, condition: → conditions:, and action: → actions:. Within an action, service: became action:, and service_data: became data:. Home Assistant has not removed the legacy syntax, so do not worry when you encounter older examples online. The steps below use the current names; the terms in parentheses are what you may see in an older interface.-
Create a new automation
Go to Settings → Automations & scenes → Create automation, then select Create new automation. Give it a descriptive name, such as “Sunset · Turn on main living-room light.”
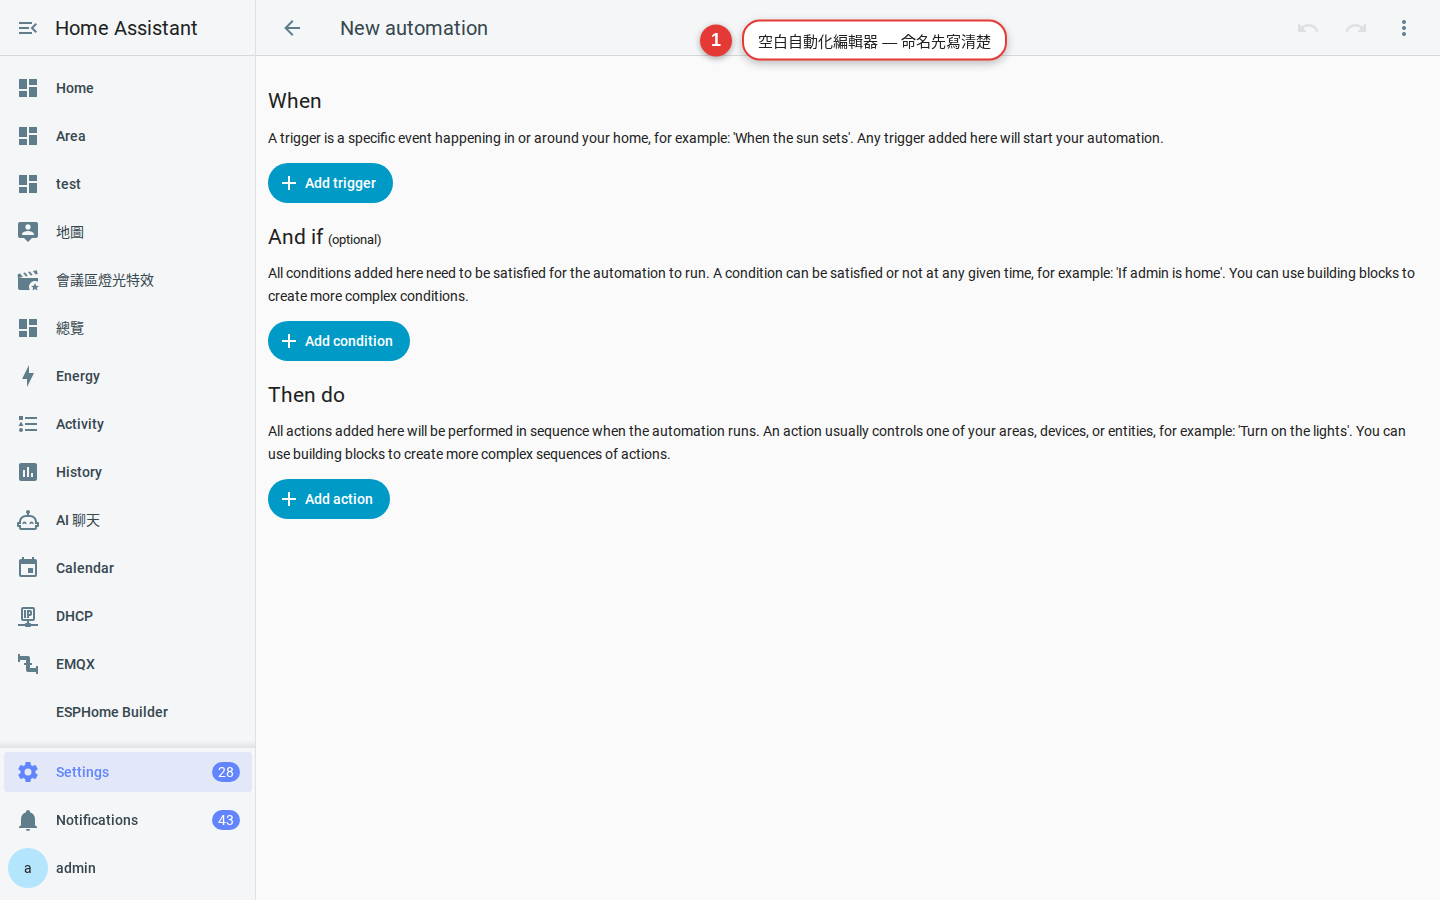
Figure 8-1 Start from scratch, and use a name that clearly states “when this happens, do that.” -
Set the trigger: Sun
Select Add trigger, then choose Sun. Set the event to Sunset and enter
+00:30:00as the offset, which means 30 minutes after sunset.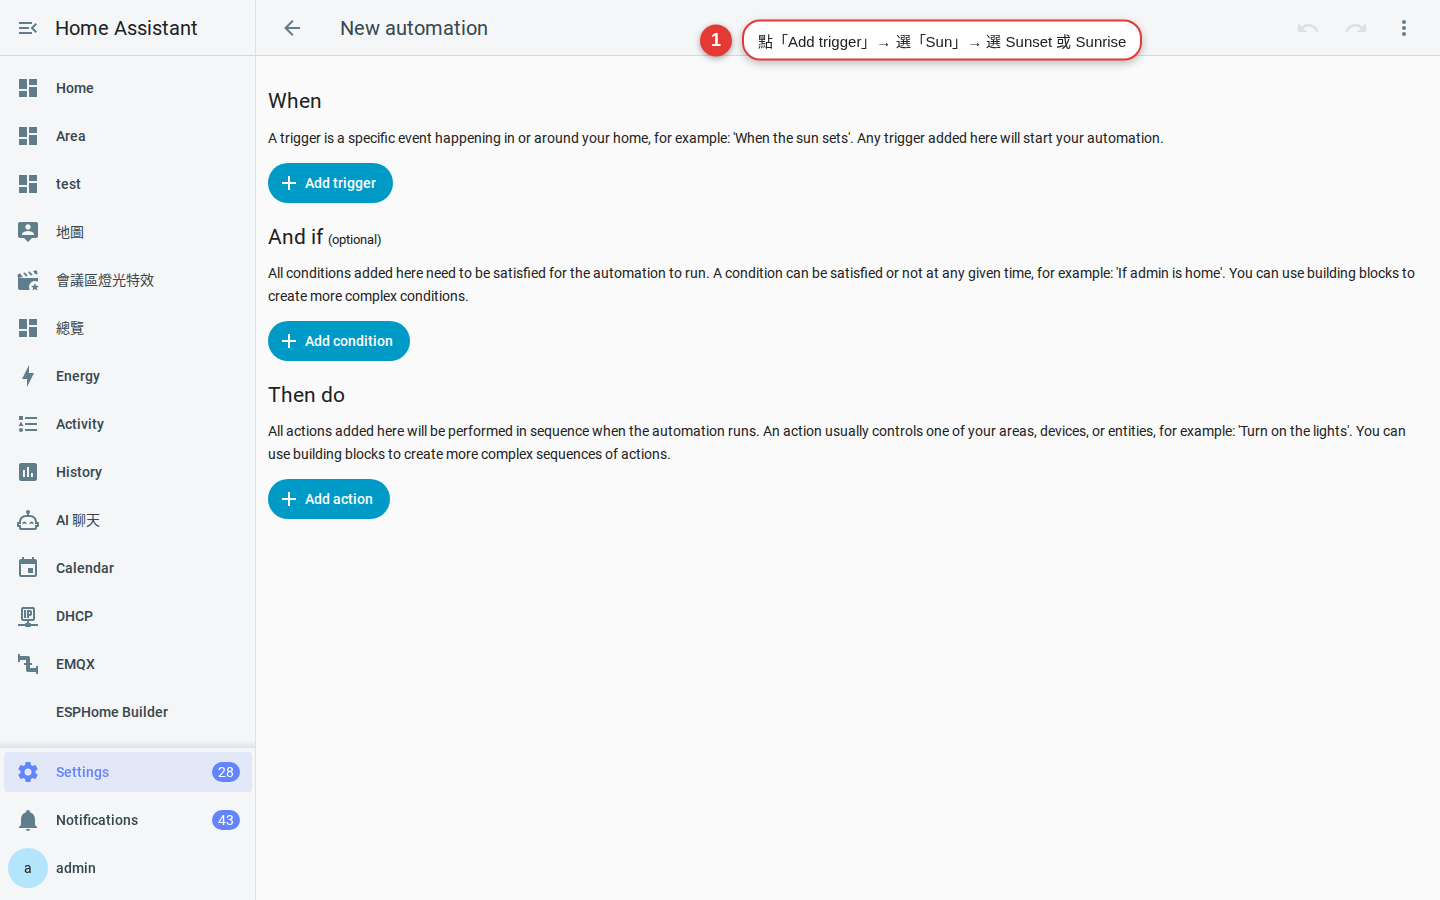
Figure 8-2 The Sun trigger supports sunrise or sunset, with an offset before or after the event. -
Optional: add a condition so it runs only when someone is home
Select Add condition, choose Numeric state, select
zone.home(or the home zone you configured in Chapter 3), and set Above to 0. This prevents the lights from wasting electricity when nobody is home.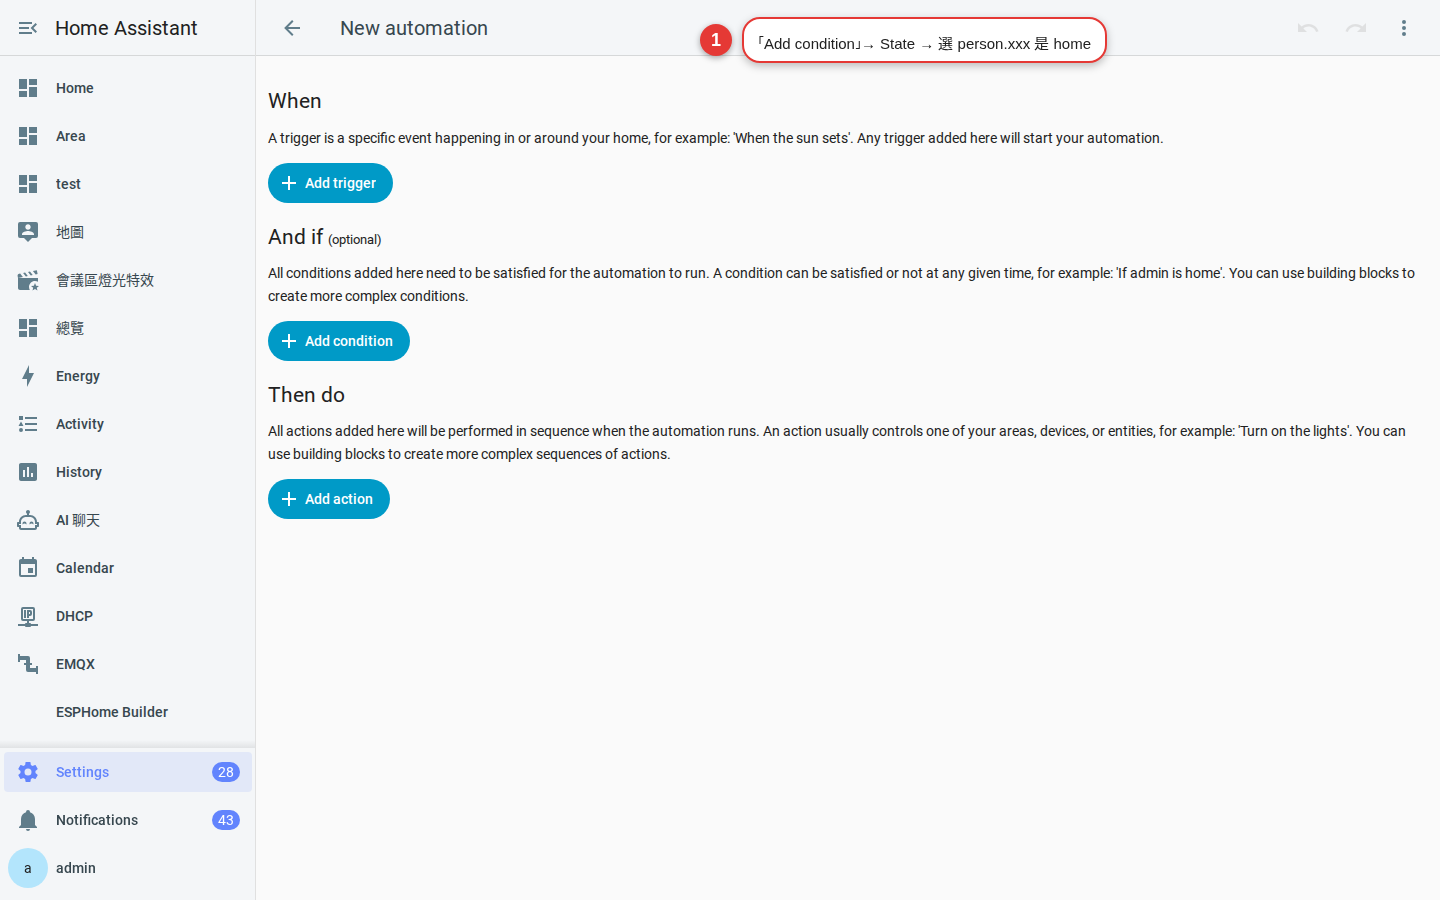
Figure 8-3 A condition is a filter that Home Assistant evaluates only after the automation is triggered. -
Set the action: turn on the light
Select Add action, choose Perform action (called Call service in older versions), and select
light.turn_on. Important: under Targets, choose “Entity” rather than “Device.” Selectlight.livingroom_ceiling(or the entity ID of your main living-room light). You can set the brightness to 60%.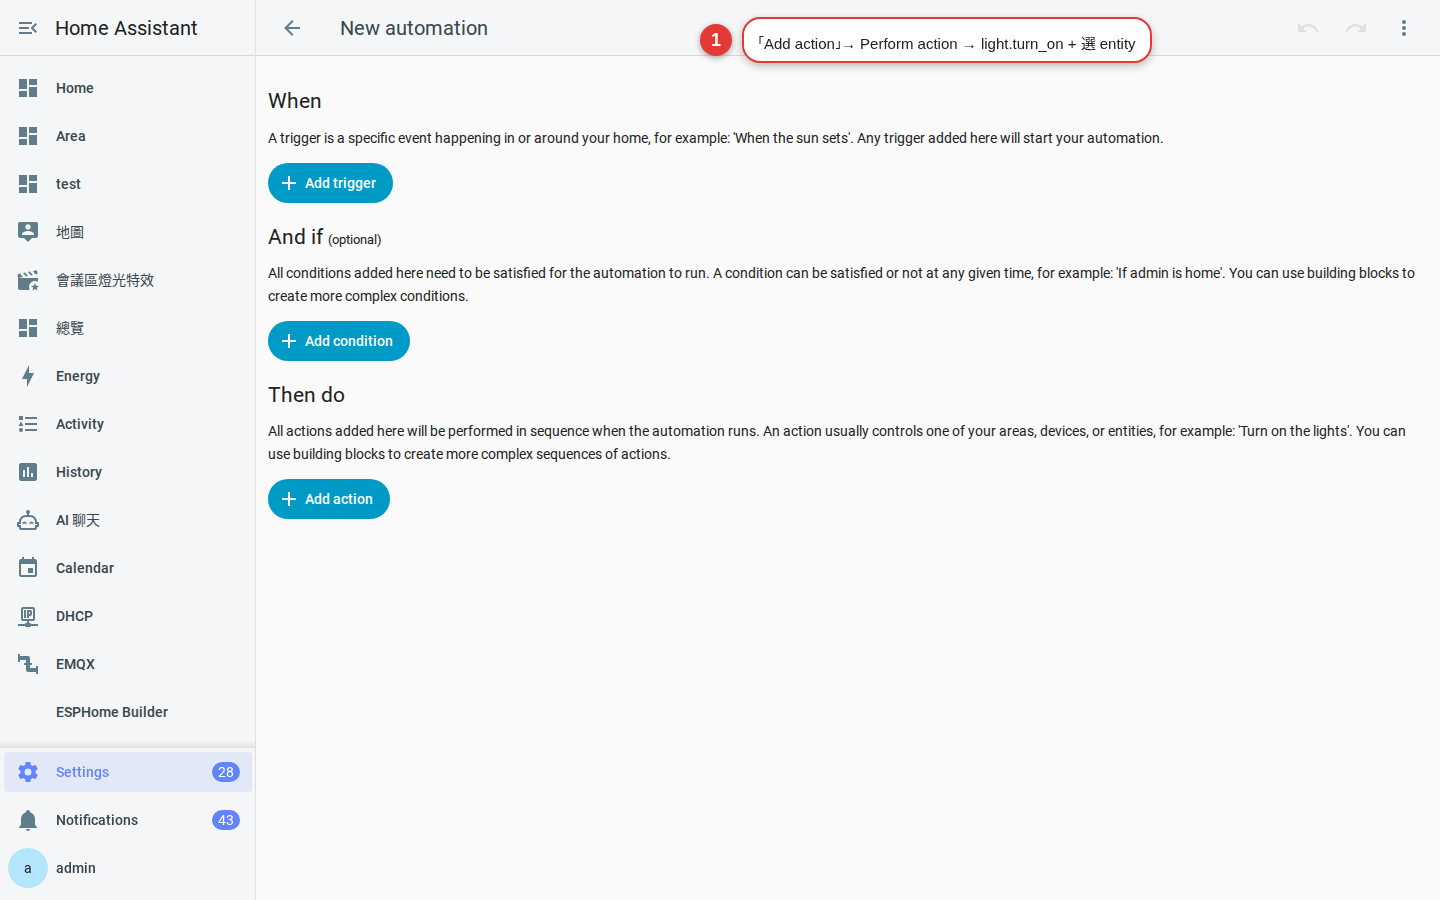
Figure 8-4 Be sure to target the entity ID, as explained in the previous section. -
Add a push-notification action
Select Add action again and choose
notify.mobile_app_xxx(the notification action you configured in Chapter 7). Enter the message “The living-room light was turned on at sunset.”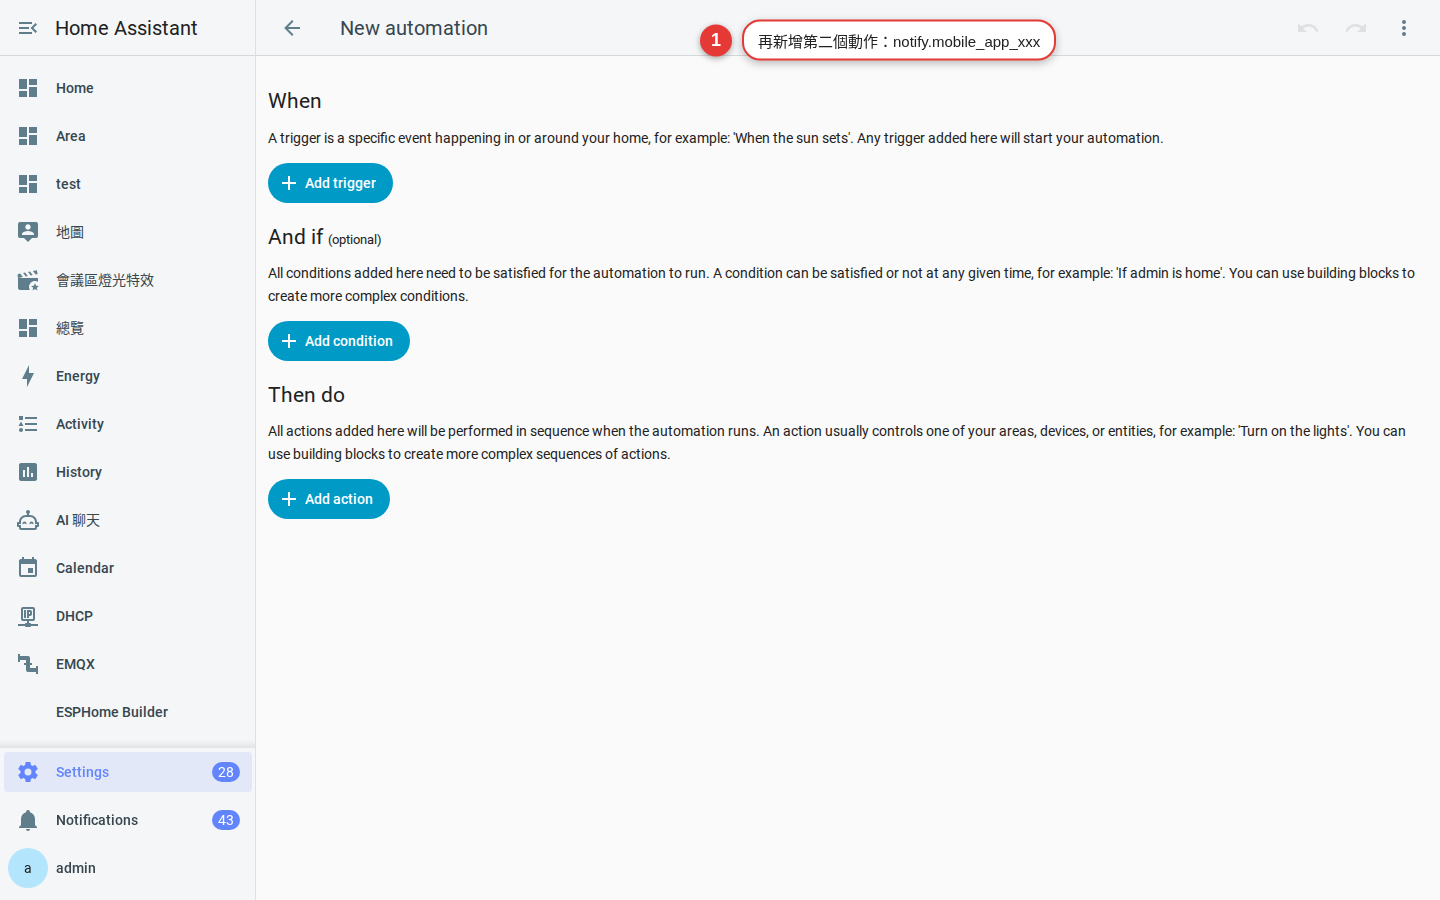
Figure 8-5 You can chain multiple actions; Home Assistant runs them in sequence. -
Save and test
Select Save in the lower-right corner and confirm the name. Return to the automation list, open the automation you just created, and select Run actions to test it manually. Confirm that the light turns on and your phone receives the notification.
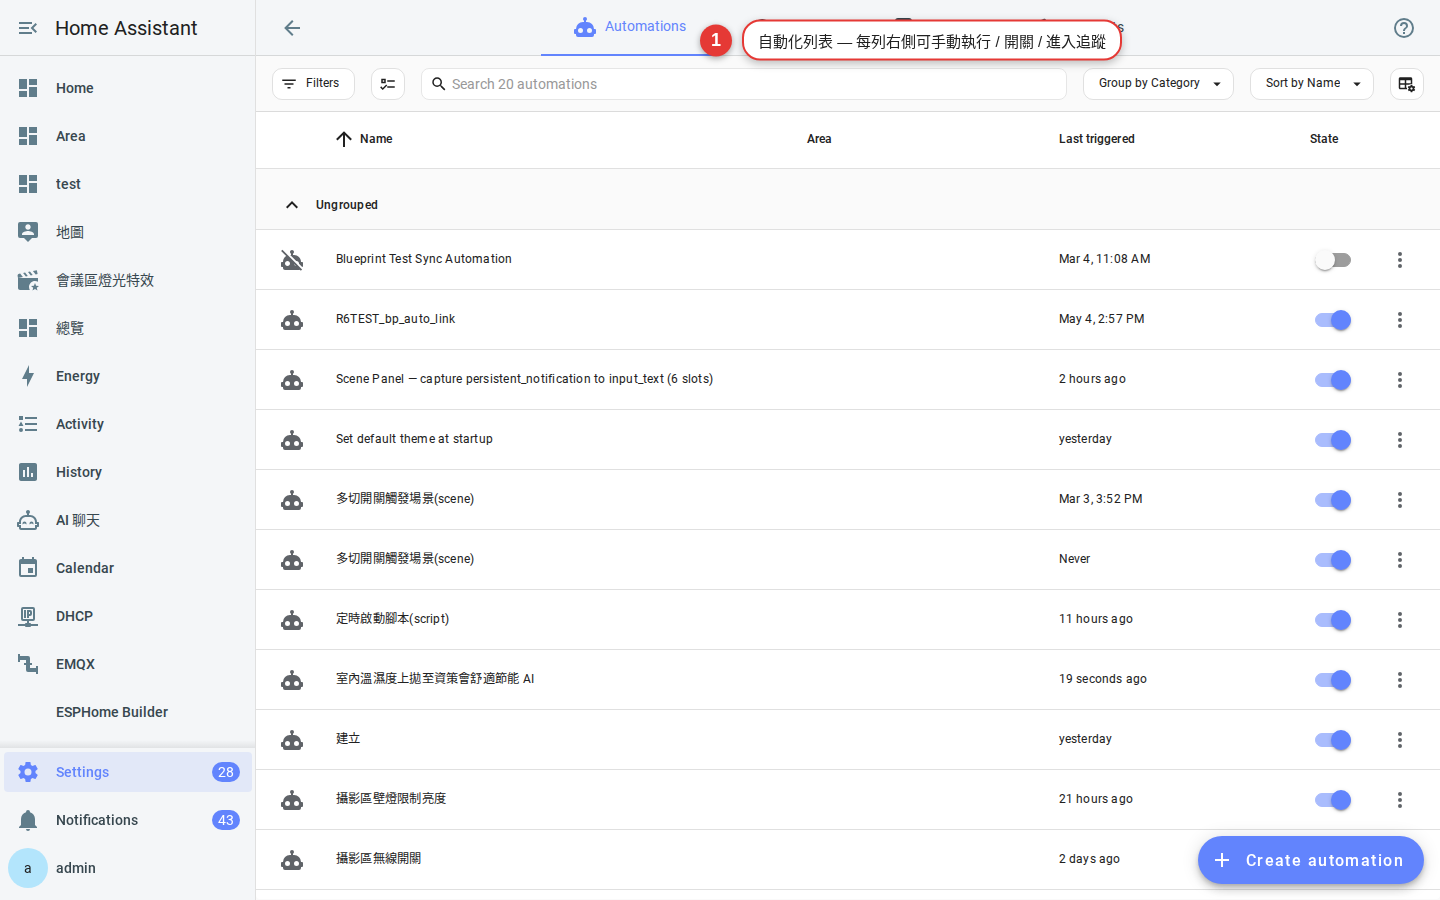
Figure 8-6 Running the actions manually bypasses the trigger and conditions, allowing you to test the actions directly.
Run modes: single, restart, queued, and parallel
What should happen if an automation is triggered again while it is still running? Its run mode determines the answer. You can find the Mode setting at the bottom of the automation editor.
| Mode | Behavior | Best suited to |
|---|---|---|
| single (default) | Ignores a new trigger while the previous run is still in progress | Automations that simply need to finish once, such as sunset lighting or a daily backup |
| restart | Stops the previous run when a new trigger arrives, then starts again from the beginning | Turning on a light when motion is detected, then turning it off after 5 minutes (the timer restarts whenever motion is detected) |
| queued | Queues new triggers and runs them in order after earlier runs finish | Doorbell chimes that must play one at a time, or bursts of many events in a short period |
| parallel | Runs multiple instances at the same time | Uncommon cases that explicitly require concurrent runs |
If you are unsure, leave the mode set to single; it is the safest default.
Blueprints: import ready-made automations
Blueprints are Home Assistant's official automation-template system. The author defines the logic and exposes the customizable parts as form fields, so you can create a working automation simply by completing a few selections.
Common uses include:
- Assigning actions to Zigbee buttons, including IKEA, Aqara, and Hue remotes
- Turning on lights when motion is detected, then turning them off after a timeout
- Sending notifications when a washer or dryer finishes
- Sending low-battery alerts
To import a Blueprint:
- Find the Blueprint you want on the Home Assistant Blueprint Exchange forum or GitHub, then copy its URL.
- In Home Assistant, go to Settings → Automations & scenes → Blueprints → Import Blueprint, then paste the URL.
- Return to Automations, select Create automation from Blueprint, choose the Blueprint you imported, and complete its device and entity fields.
Troubleshooting
Problem 1: The automation did not run, and there is no error message.
Open the automation from the list and select Traces in the upper-right corner. This view shows the complete path of the five most recent runs: which trigger fired, whether the conditions passed, and how far the actions progressed. Examining a trace is the first troubleshooting step and is usually more direct than checking the logs.
Problem 2: The trigger fired, but a condition blocked the automation.
The trace uses color to show what happened. If a condition appears gray or white, it did not pass; hover over it to see the entity's value at that moment. Common causes include zone.home being 0 because nobody is home, or a time condition that does not match your time zone.
Problem 3: An entity ID is misspelled or has been renamed.
If you change an entity ID, an existing automation may retain the old reference and quietly stop working. Home Assistant versions released since 2024 have added tools for finding unused entities and prompts for updating references after a rename. For older automations, run a manual validation from Settings → Tools → YAML → Check configuration (Settings → Tools → YAML; this page was called Developer Tools in older versions, moved under Settings in 2026.2, and was simplified to Tools in 2026.8).