Device settings
A device page is Home Assistant's record for one piece of physical hardware. This chapter explains each section and shows you how to rename devices and entities, hide or disable unneeded entities, update firmware, review diagnostics, and remove a device cleanly.
Device page anatomy
Go to Settings → Devices & services → Devices, then select any device card to open its device page.
A typical device page has 6 sections:
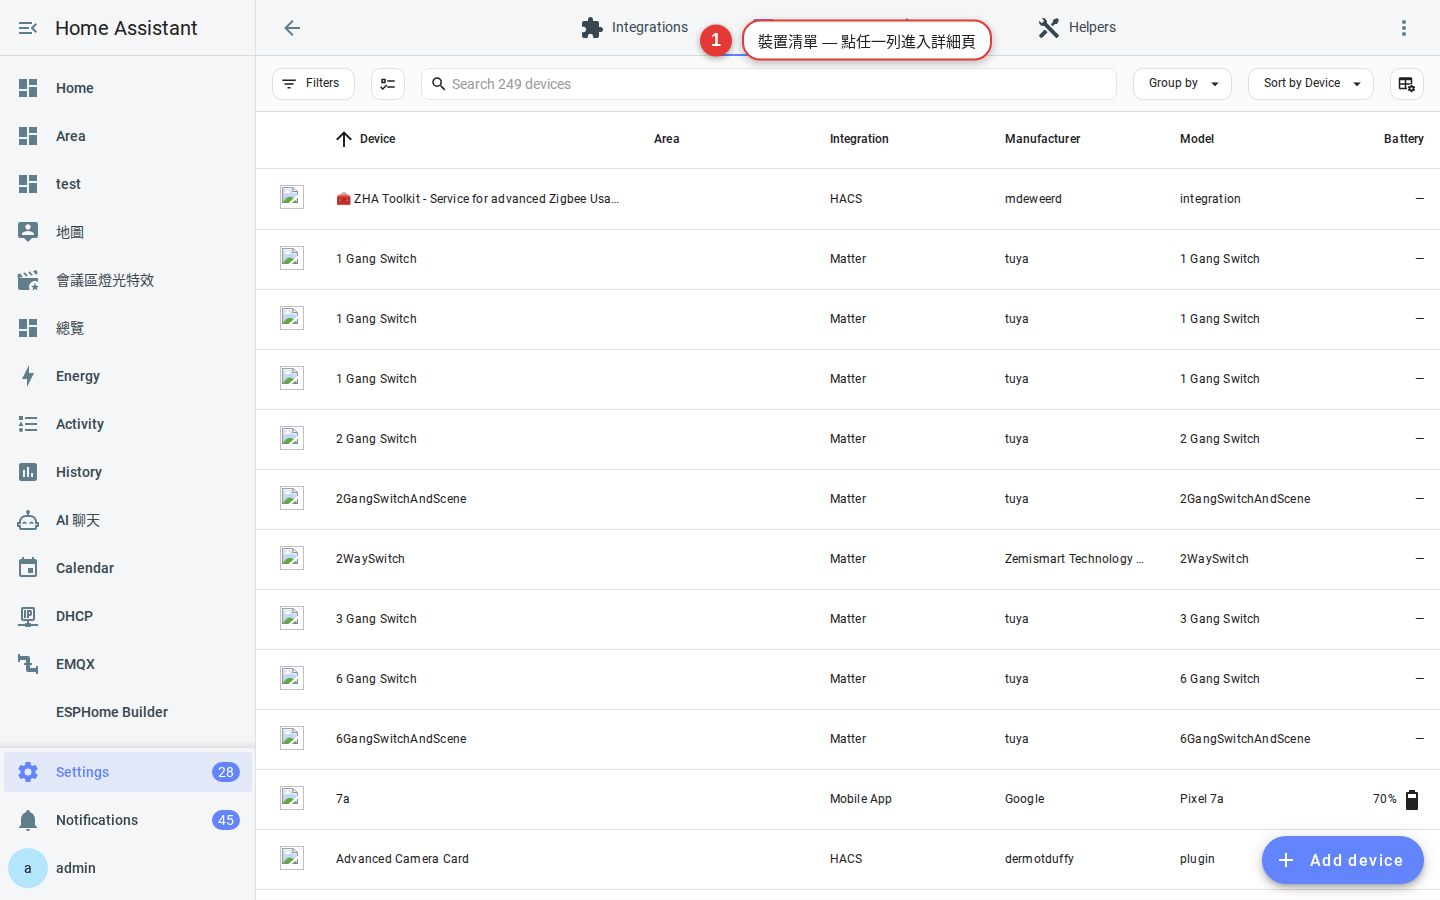
- Device information: The name, manufacturer, model, firmware version, integration, and assigned area. The three-dot menu in the upper-right corner contains additional commands.
- Controls: Devices you can actively control, such as switches and lights, have prominent controls.
- Entities: Every entity created by the device. A Zigbee switch might expose
switch.*for control,sensor.*_batteryfor battery level, andupdate.*_firmwarefor firmware. - Automations, scenes, and scripts: These show where the device is used. They provide quick links for editing and a checklist of what removal could affect.
- Related: Links near the bottom may open Logbook and History.
- Diagnostics: Diagnostic data is usually a JSON file intended for integration maintainers when troubleshooting.
Rename devices and entities
-
Rename the device
On the device page, select the pencil icon in the upper-right corner and change Name. If you have not overridden an entity's name, its display name may adopt the new device name as its prefix.
Warning: Renaming a device does not automatically change its entity IDs. Home Assistant keeps them stable so an automation that refers tolight.old_namedoes not break when you change only the display name. Change each entity ID separately if necessary. -
Rename the entity and its entity ID
Select an entity on the device page, then open its settings. You can edit Name, which appears in the interface, and Entity ID, which automations and dashboards use. If Home Assistant offers to update references in dashboards, automations, and scripts, select that option and test every affected item.
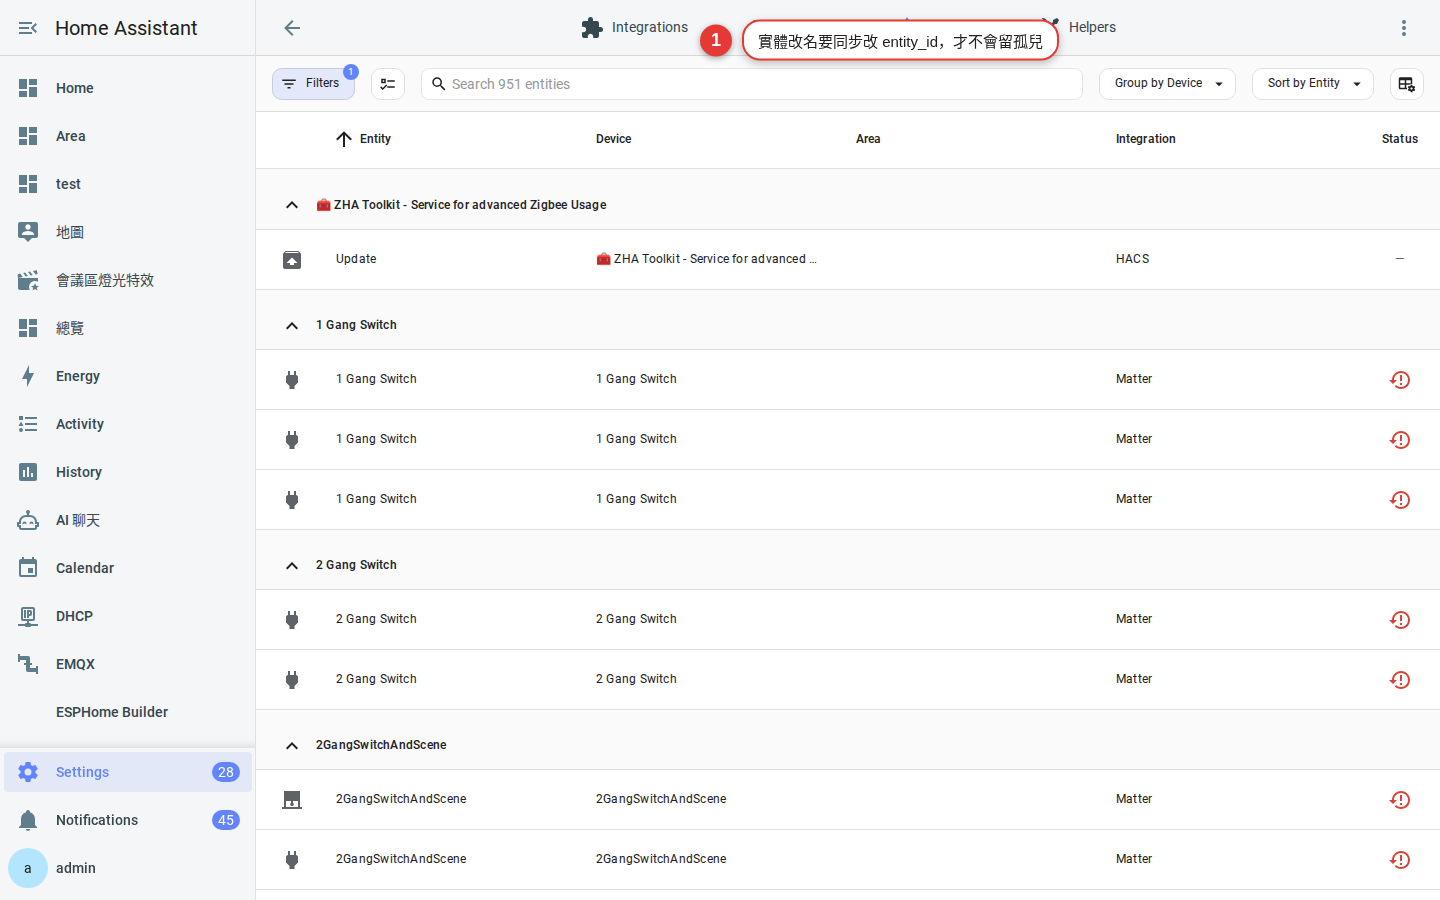
Figure 11-2 Ask Home Assistant to update references when you change an entity ID; otherwise, automations may retain the old ID. -
Choose a distinctive icon
In the entity settings, enter
mdi:xxxin the Icon field. Examples includemdi:lightbulb-outline,mdi:ceiling-light, andmdi:desk-lamp. Browse available icons at pictogrammers.com/library/mdi/.
Manage entities
A device can expose many entities, especially an environmental sensor or a multipurpose Zigbee switch. Use these guidelines to keep them organized:
- Entities you use → Give each one a clear name, assign it to an area, and add relevant labels.
- Entities you rarely view, such as battery level → Leave them enabled, or apply a Battery label so you can monitor them together.
- Entities you never use, such as unwanted diagnostic entities → Hide or disable them after reviewing the differences below.
You can manage entities in two places:
- Device page: Review all entities associated with one device.
- Settings → Devices & services → Entities: Review the complete entity registry and filter it by domain, integration, status, or label.
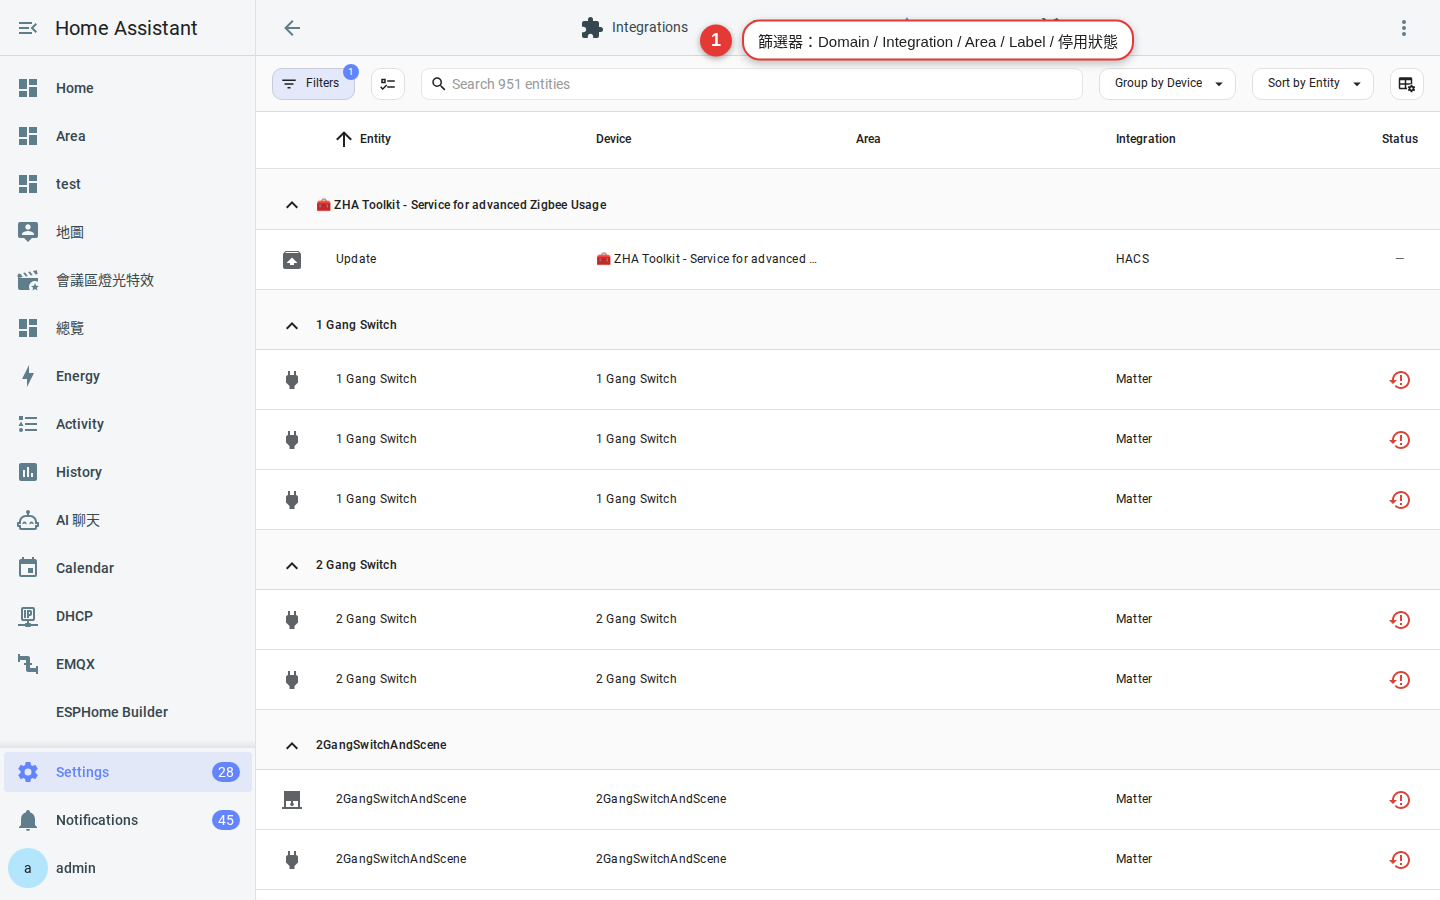
Disable vs. hide vs. delete
| Action | Effect | History retained? | How to restore it |
|---|---|---|---|
| Hide | The entity keeps working and collecting data, but Home Assistant excludes it from some default UI views and selections. | Yes | Open the entity settings and turn off Hidden. |
| Disable | The integration stops adding and updating the entity. Its state is generally unavailable. |
Existing history remains; no new states are recorded while it is disabled. | Open the entity settings and enable it. Some integrations must then be reloaded. |
| Delete | Removes the entity-registry entry when deletion is available. References are not guaranteed to be removed. | Recorder data may remain temporarily without an active entity. | The integration may recreate the entity. A removed device may need to be added or paired again. |
Which option should you use?
- If you do not need an entity now but may want it later, hide it.
- If an unused entity creates unnecessary updates or log entries, disable it—for example, an unneeded Z-Wave diagnostic entity.
- If the physical device has been permanently removed, delete the device from its device page or remove it through the integration. Deleting only an entity often has no lasting effect because the integration can create it again.
Firmware updates (update entities)
Supported integrations expose firmware updates as update.* entities alongside other entities on the device page.
-
Check for available updates
Check the Updates card or open Settings → System → Updates. A supported device also shows its
update.*entity on the device page.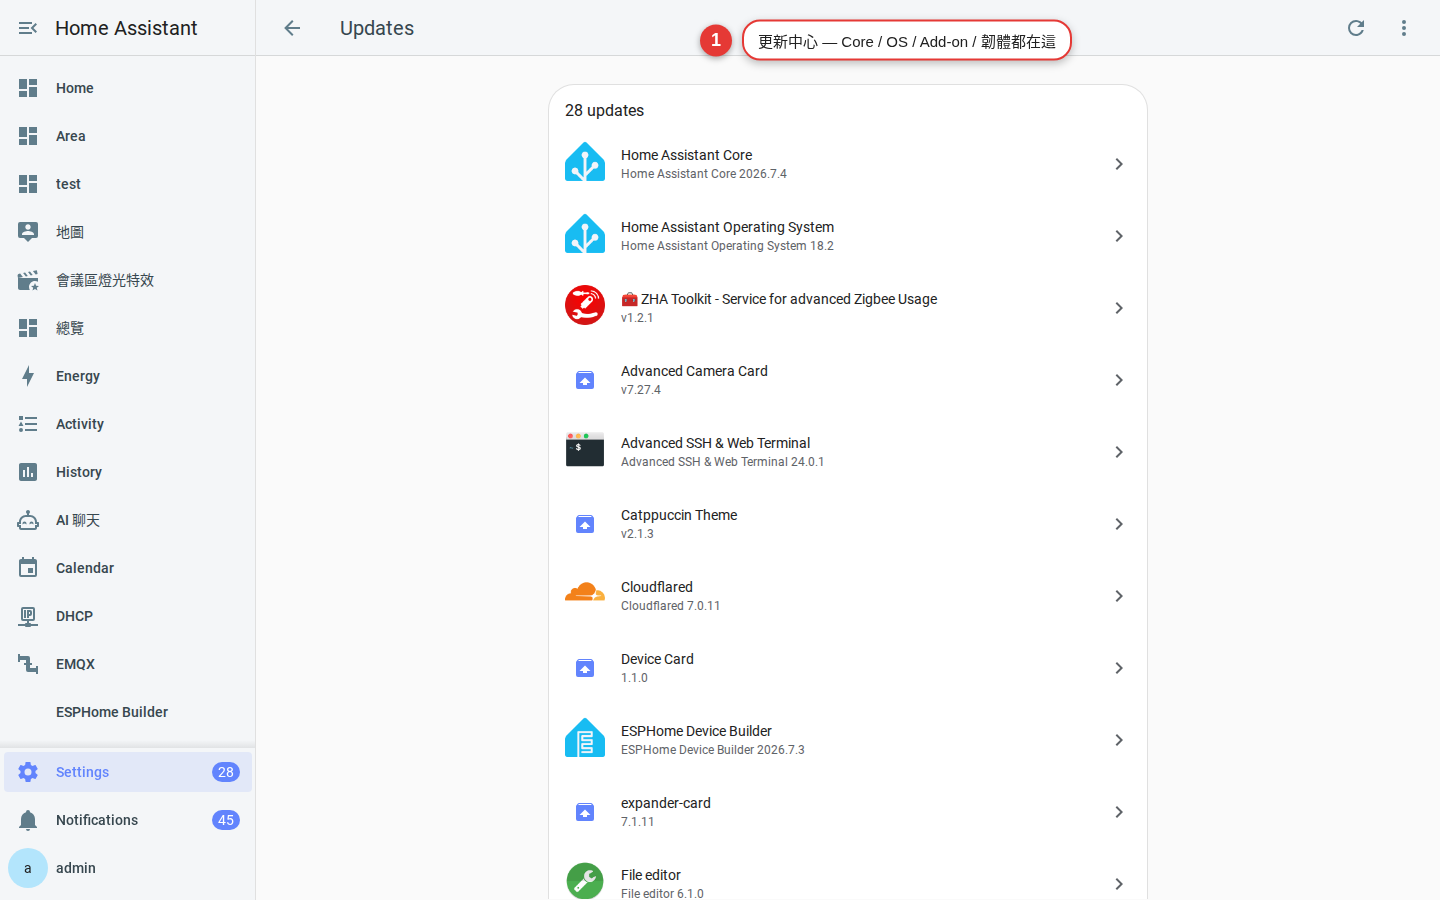
Figure 11-4 Settings → System → Updates brings together Home Assistant Core, apps (called add-ons in older releases), integrations, and device firmware. -
Create a backup first (Chapter 9)
A failed Zigbee or Z-Wave firmware update can leave a device unusable. A 3-minute backup costs far less than pairing and configuring the device again, although a Home Assistant backup cannot recover the device's firmware. Review the release notes and the manufacturer's recovery instructions before updating.
-
Select “Install”
Battery-powered devices such as contact and motion sensors sleep for much of the time. An integration may queue the update until the device wakes; follow its instructions rather than repeatedly starting the update.
-
Verify the result
Return to the device page and check the firmware version. If it has not changed, the update may still be queued or may have failed; review the update entity and logs.
Diagnostics & Repairs
Home Assistant provides two useful troubleshooting resources:
1. Download diagnostics
On the device page, open the upper-right ⋮ menu and select “Download diagnostics.” The resulting JSON file contains states, attributes, and integration data. Home Assistant redacts known sensitive fields, but you should still review the file before attaching it to a GitHub issue or community post.
2. Repairs
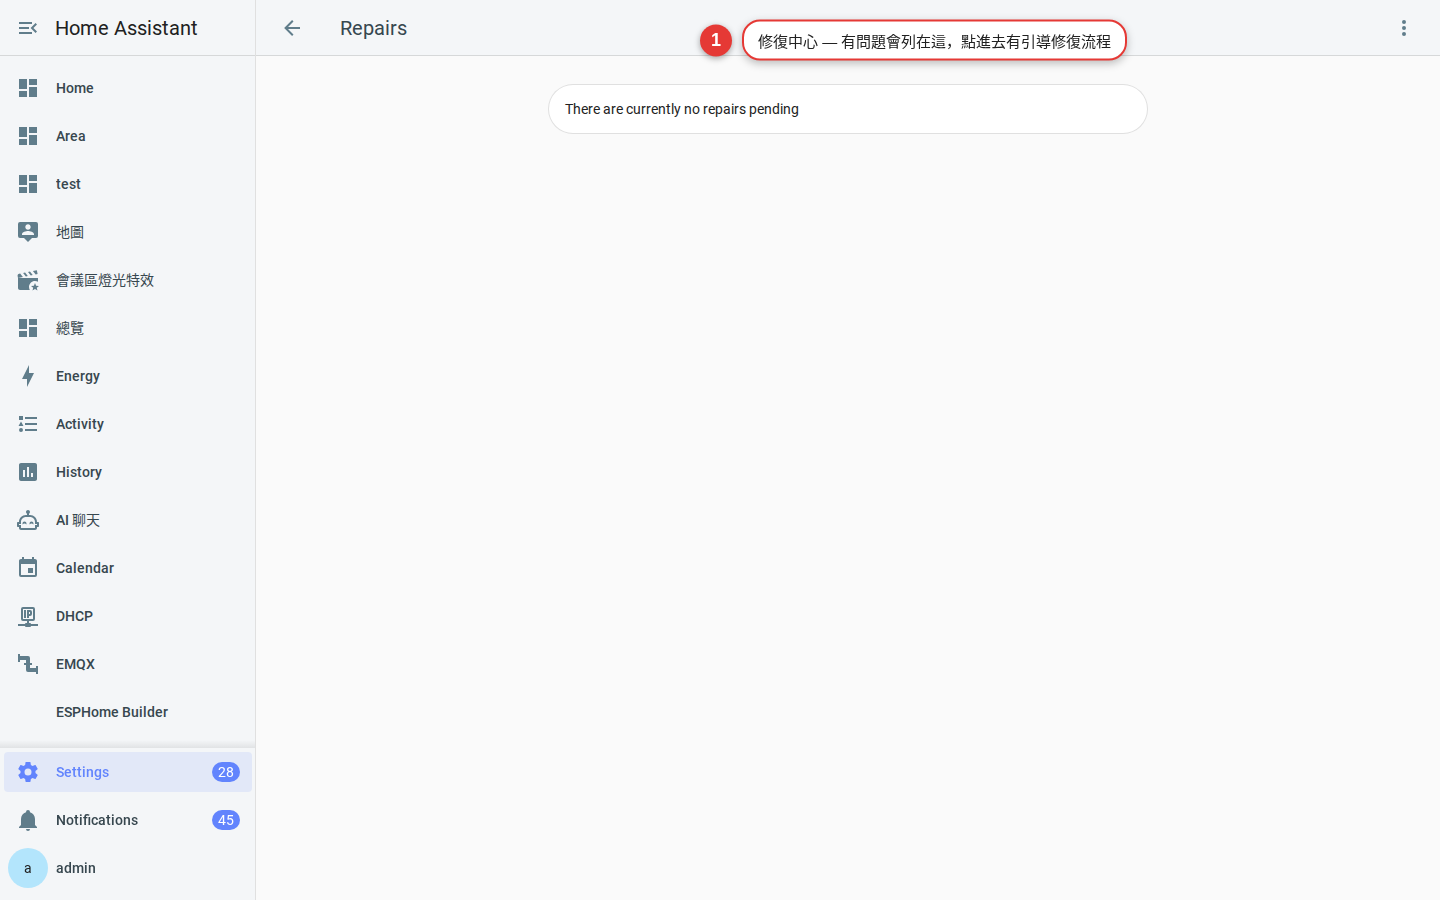
Open Settings → System → Repairs. Home Assistant raises repair issues when, for example, an integration stops working, an app is outdated, entities are duplicated, or the database becomes too large. Open an issue, read its explanation, and follow the guided repair instead of assuming that every issue has a one-click fix.
Reconfigure or remove a device
Reconfigure
If the integration supports it, open the ⋮ menu on the device page and select “Reconfigure” to update an IP address, key, or API token without removing the configuration entry. For ZHA or Zigbee2MQTT devices, follow the integration's documented device-management process to re-interview a device and restore missing or damaged entities.
Remove one device
On the device page, open the ⋮ menu and select “Delete.” The result depends on the integration: a Zigbee integration may remove the node from its network, while a cloud integration may discover it again during the next account sync.
Remove an entire integration entry
Under Settings → Devices & services → Integrations, open the configuration entry's menu and select “Delete.” Home Assistant warns that all devices and entities provided by that entry will be deleted. Review them and create a backup before confirming.
FAQ
A device is unavailable. How do I tell whether it is disconnected or broken?
unavailable this morning, investigate power, Wi-Fi, or Zigbee signal problems first. If it has been silent for several days, check its battery and hardware. For Z-Wave and Zigbee devices, also review any signal-strength or LQI data available on the device page.Can an entity use a different area from its device?
What happens to history after I delete a device?
purge_keep_days, which defaults to 10 days, or use supported Recorder maintenance tools.What should I do when two integrations discover the same device?
Can the device page URL be shared directly?
/config/devices/device/deviceID. Recipients must sign in and have permission to view the device; the URL itself grants no access.