Backups
An SD card failure, a bad update, or an accidentally deleted integration can wipe out your setup. This chapter shows you how to configure automatic backups in three minutes, so you can experiment with confidence.
Why backups matter
Having no backup is widely regarded in the Home Assistant community as the number-one painful lesson for beginners. Almost every week, someone in Reddit’s r/homeassistant reports a failed SD card, a system that will not start after an update, or an accidentally deleted Zigbee integration that forces them to pair their entire Zigbee network again.
All of that pain has a simple remedy: if you have yesterday’s backup, you can simply restore it.
Several essential community guides rank having no backup as the top beginner mistake:
- How-To Geek: Mistakes to avoid when setting up Home Assistant
- Everything Smart Home: Common Home Assistant rookie mistakes
We recommend completing Chapter 2: System settings first. A backup is cleaner once the basic settings are correct, and restoring it is less likely to bring back unwanted old values.
What a backup contains
A full Home Assistant backup is a compressed .tar archive. When extracted, it primarily contains two parts:
- Home Assistant core configuration
.storage/: Everything created through the UI, including automations, scripts, dashboards, users, and integration authentication tokens.configuration.yamland related YAML files.- Floors, areas, labels, and entity names.
- Lovelace dashboard configuration.
- App data (called add-on data in older releases)
- The Zigbee2MQTT pairing list.
- Node-RED flows.
- Mosquitto broker settings.
media/), such as camera recordings and text-to-speech audio files, is excluded by default because it is usually large. Historical data (the Recorder database) is included by default, but you can deselect it when creating a backup to reduce the file size.Create your first backup manually
-
Open the Backups page
Go to “Settings → System → Backups.” The list will be empty the first time you open it.
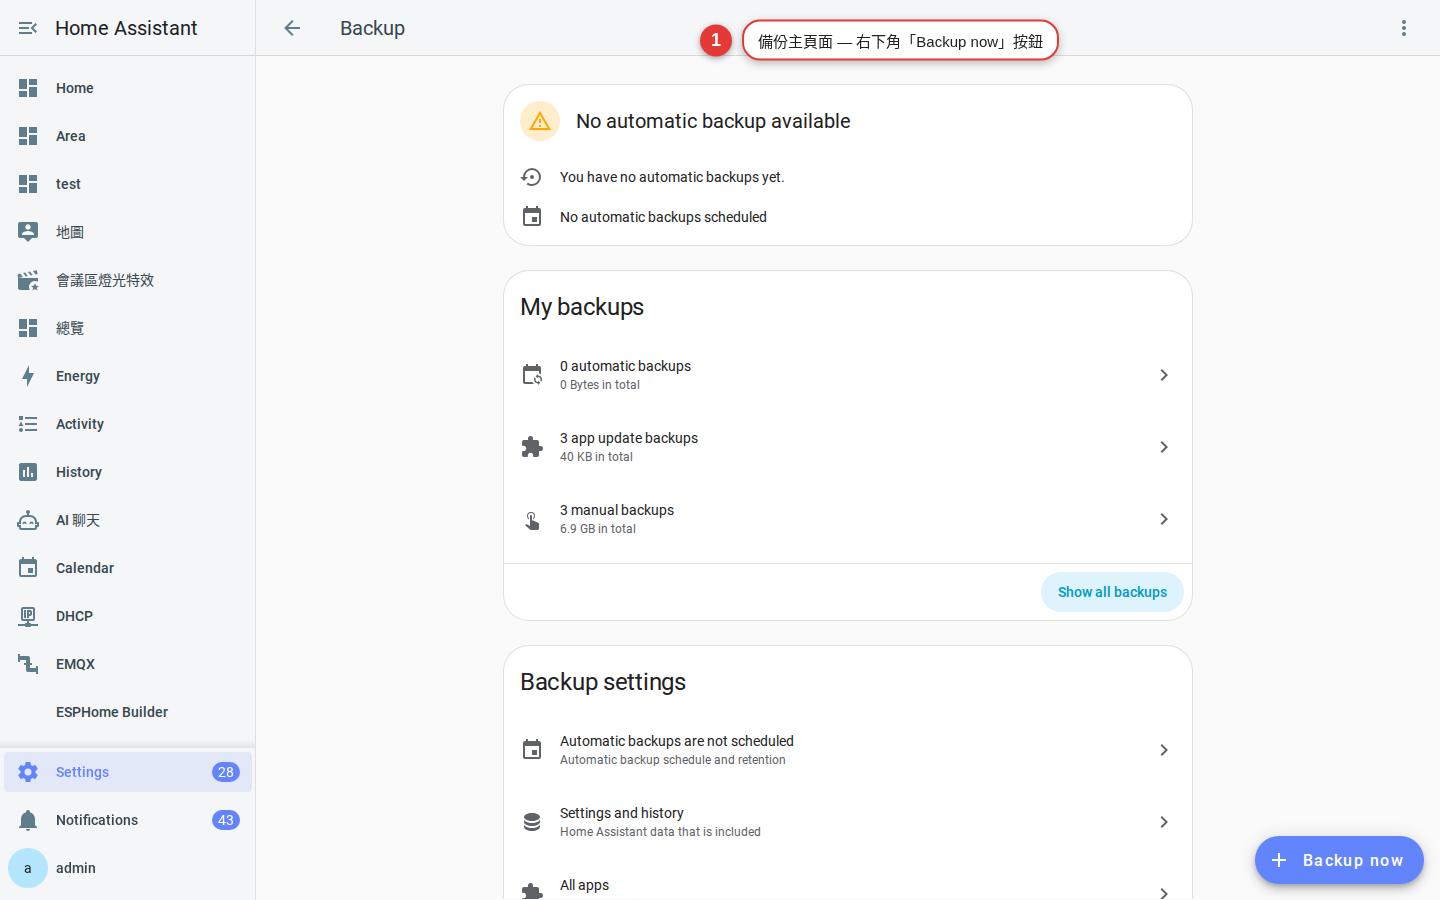
Figure 9-1 The main Backups page, with the “Backup now” button in the lower-right corner. -
Select “Backup now”
Choose a backup type: “Full backup” includes everything and is recommended for your first backup; “Custom backup” lets you select what to include.
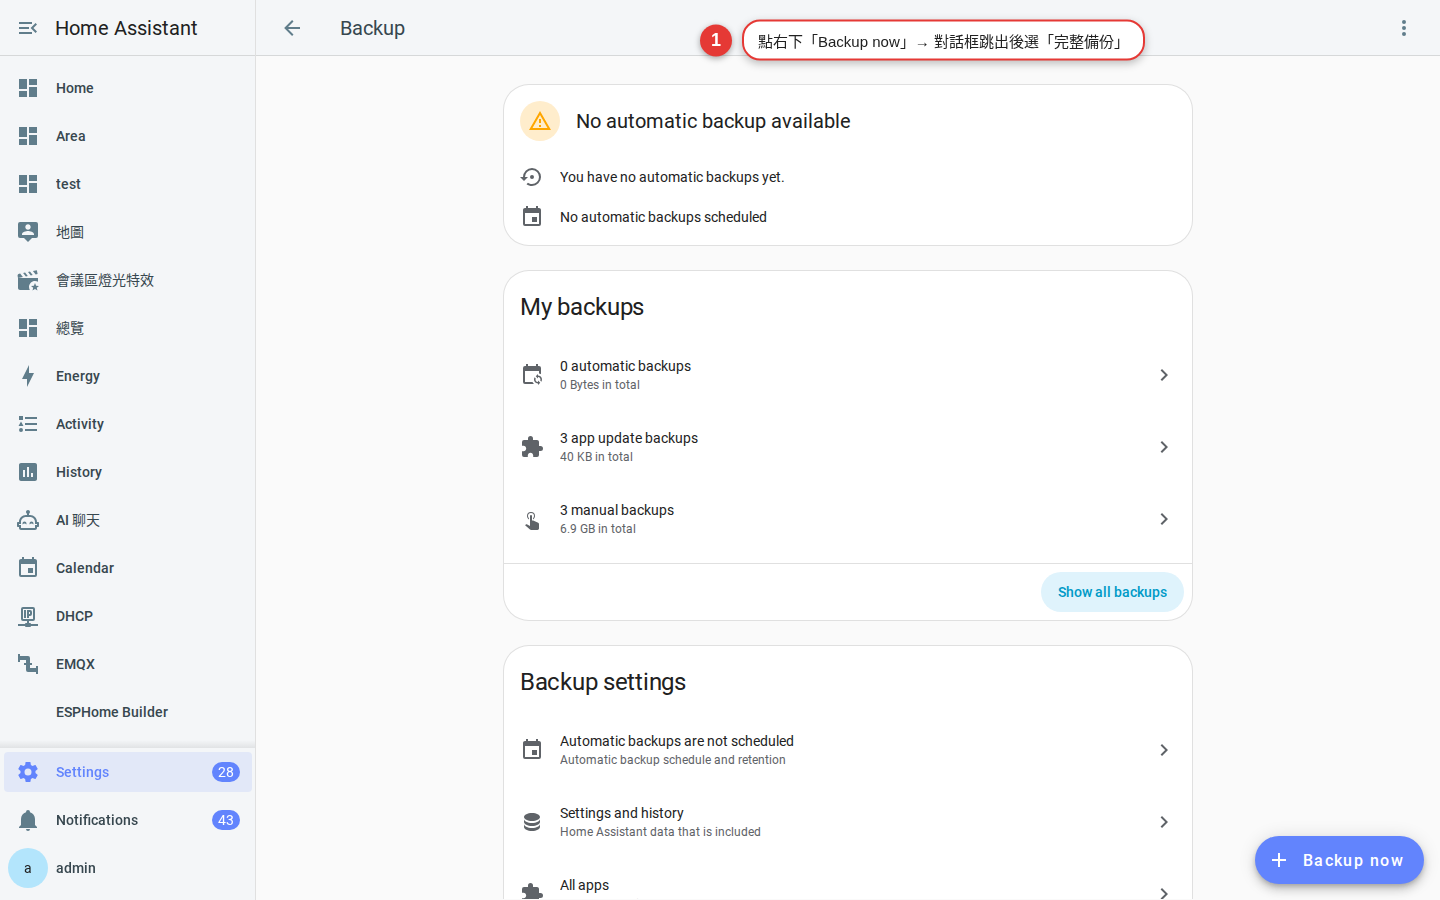
Figure 9-2 For your first backup, always choose a full backup so you can verify that a complete restore succeeds. -
Name and encrypt the backup
Use the date and purpose in the backup name, for example
2026-08-01-baseline. We strongly recommend selecting “Encryption” and setting a password, because the backup contains authentication tokens for all your integrations. Store the password in a password manager such as 1Password or Bitwarden. If you forget it, you cannot restore the backup.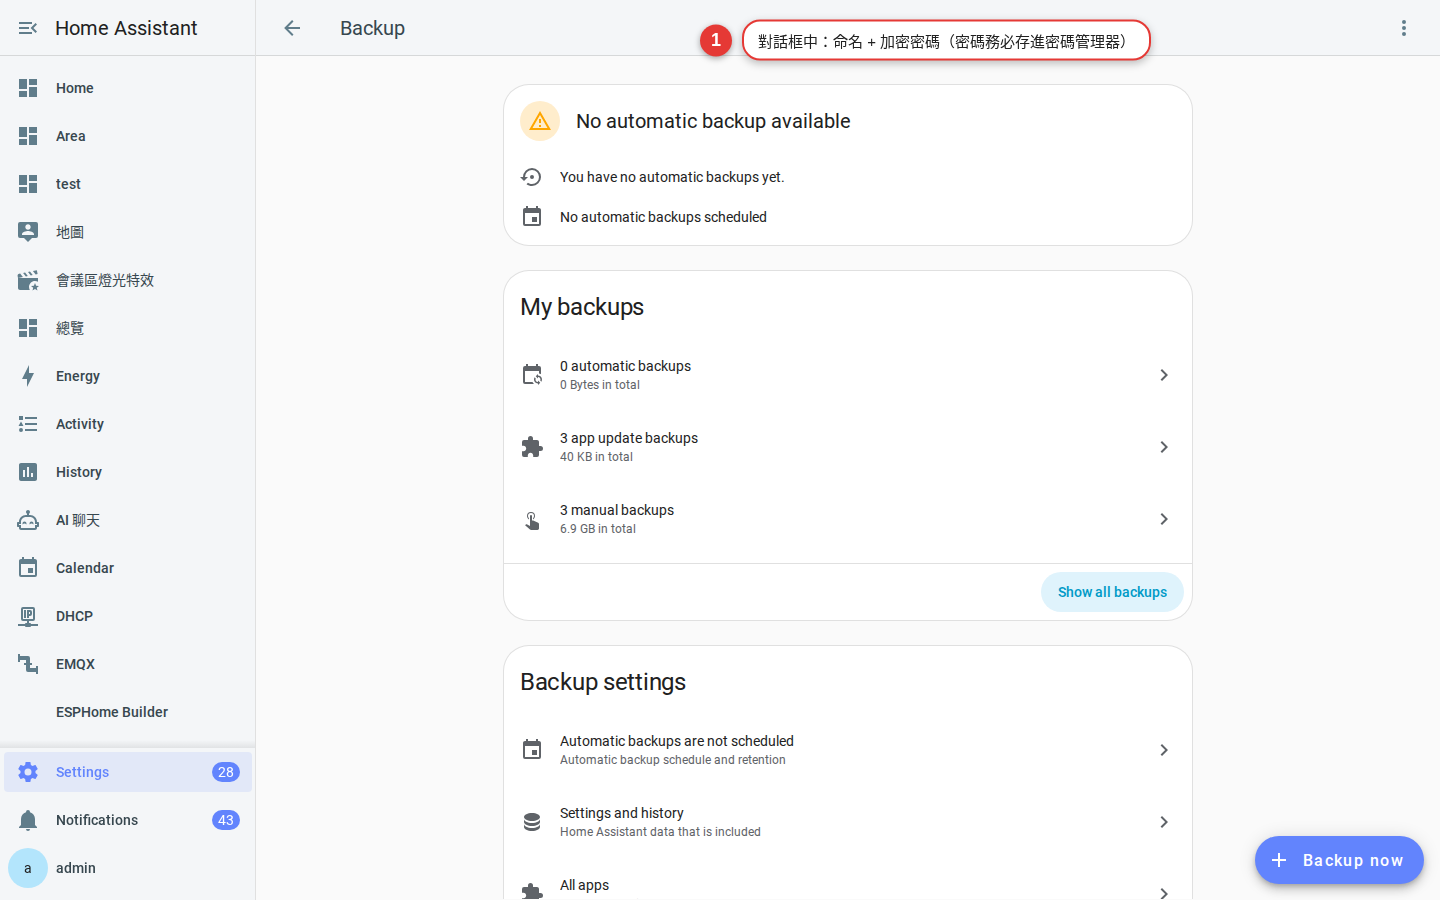
Figure 9-3 Name and encrypt the backup. Be sure to store the password in a password manager. -
Download the completed backup to your computer
A backup usually takes between 30 seconds and three minutes to complete. When a new entry appears in the list, open it and select “Download” to save it to your computer. This creates a copy away from the Home Assistant host: if the entire host fails, any backup on its internal drive disappears with it, while this separate copy can save your system.
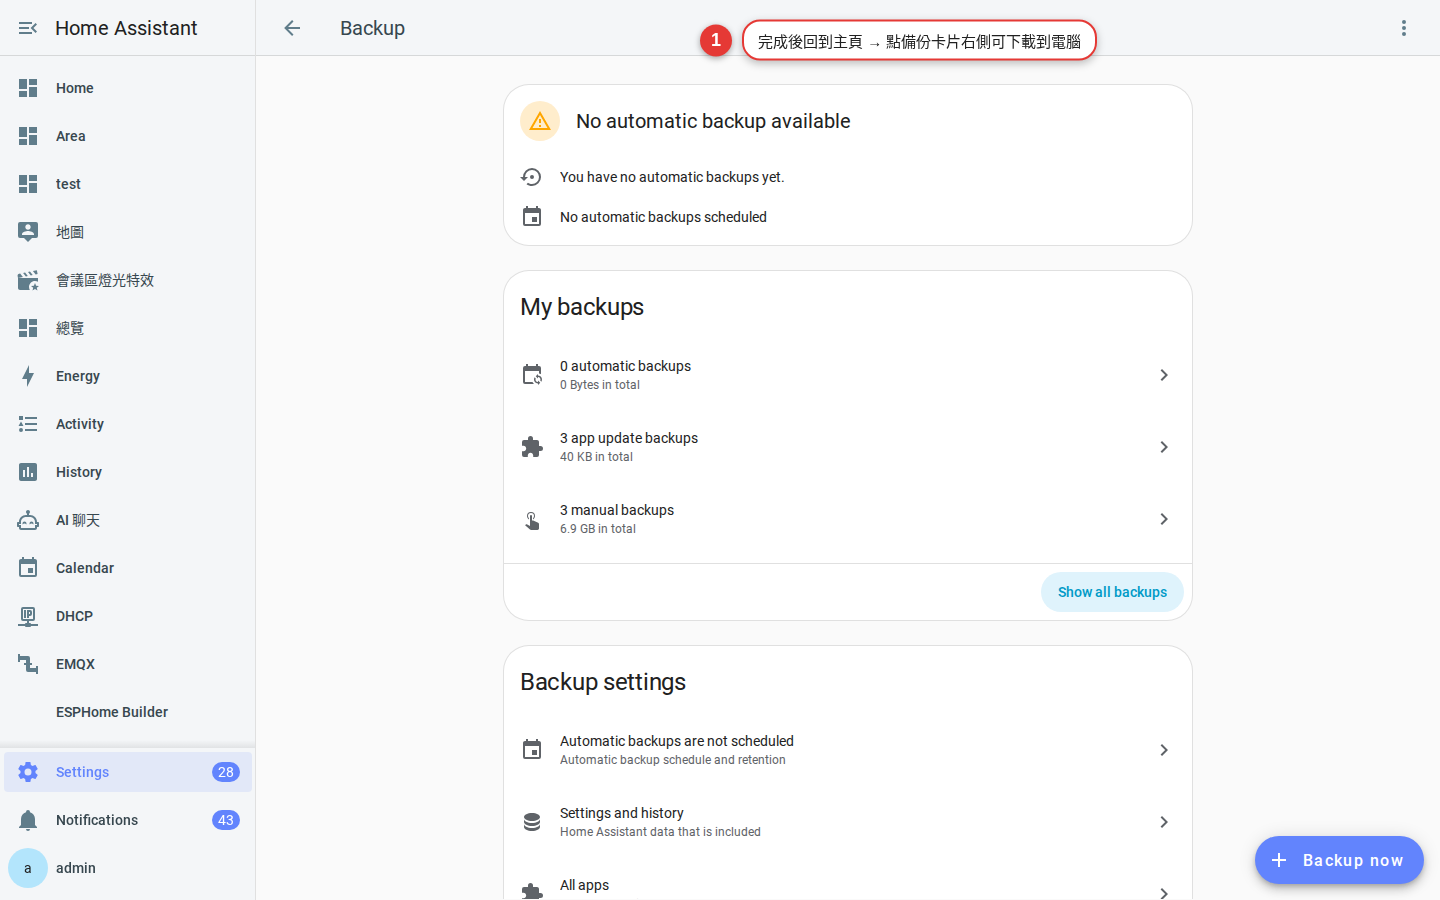
Figure 9-4 Download the backup to your computer, then place another copy in cloud storage such as Google Drive or Dropbox.
Schedule automatic backups
Home Assistant OS 2024.10 and later includes a complete automatic backup scheduler, so you no longer need to install a separate automatic-backup app.
Go to “Settings → System → Backups → Automatic backups” in the upper-right corner. You can configure:
- Frequency: Daily, weekly, or monthly, plus the time to run the backup; 3–5 a.m. is recommended.
- Retention: For example, retain the latest 7 daily backups and 4 weekly backups. Older backups are deleted automatically.
- Backup locations: Upload to multiple locations at the same time:
- Home Assistant Cloud (Nabu Casa)—the simplest option; subscribers can select it directly.
- Google Drive—connect it through the official integration.
- Samba / NFS network share—store backups on your home NAS.
- Nextcloud app—use your self-hosted cloud.
- Encryption: Always enable it and use the same password.
Restore a backup in two scenarios
Scenario 1: Selectively restore a component on the same Home Assistant system
Perhaps you accidentally deleted an automation or damaged an integration. Go to “Settings → System → Backups → select a backup → Restore,” then select only the component you want to restore. For example, you can restore the Zigbee2MQTT configuration without changing anything else. This is the most common recovery scenario.
Scenario 2: Restore a backup during a fresh installation
Use this option after replacing an SD card or host, or when the original system is too damaged to start. Flash and install Home Assistant OS again. On the first “Start setup” page, select “Restore from backup.” Upload the .tar file, or connect to Google Drive, enter the encryption password, and wait 5–15 minutes for the previous system state to be restored completely.
Where to store backups (important)
By default, Home Assistant OS stores backups in the host’s /backup directory. That directory is on the same SD card or drive as Home Assistant itself.
/backup directory is effectively the same as having no backup. If the SD card or drive fails, the backups disappear along with the system.Use at least one of the following options; using two is recommended:
- Cloud storage: Configure the Nabu Casa or Google Drive integration to upload backups automatically.
- NAS / network share: If you have a Synology, QNAP, or TrueNAS system, send backups to it through the Samba Backup app or the native integration.
- Offline drive: Once a month, manually download a backup to a USB drive and store it safely.
Follow the 3-2-1 backup rule: 3 copies, on 2 types of media, with 1 copy off-site. For Home Assistant, that could mean local storage, a NAS, and the cloud.
Troubleshooting
Problem 1: The backup file is too large.
Open “Settings → Tools → Statistics” (“Settings → Tools”; in older releases, this sidebar item was called “Developer tools”) and check the size of the Recorder database. You can shorten the retention period with recorder.purge_keep_days, whose default is 10 days, or exclude frequently updated sensors such as power meters and CPU-temperature sensors. Also confirm that the media library is not selected.
Problem 2: Some integration passwords or tokens no longer work after a restore.
Most integration tokens are stored in .storage/ and are restored with the backup. Cloud services such as Google, Alexa, and Nest often require authorization again because their tokens can expire or be tied to an IP address. This is expected; simply complete the authorization flow again.
Problem 3: The SD card is unreadable, so the backup restore path is gone.
This is exactly why you need a copy away from the Home Assistant host. If you do not have a single usable backup, you must rebuild the system from scratch. It is also why we strongly recommend running Home Assistant OS on an SSD with a USB adapter instead of an SD card: reliability is markedly better.