Scripts
Give a name to a packaged sequence of actions. You can then invoke it from an automation, a button, or a voice command. The automation in Chapter 8 is a complete, self-contained process; a script is a sequence of actions that another part of Home Assistant calls.
Why scripts are useful
You may find yourself repeating the same sequence of actions in several automations. For example:
- “Turn off all the lights and air conditioning, start the robot vacuum, then turn off the entryway light after 30 seconds” — leaving home
- “Raise all the blinds, set the main light to 20%, and play a good-morning playlist” — waking up
- “Slowly fade the main bedroom light to 5%, then turn it off” — bedtime fade-out
Package the complete sequence as a script such as script.leaving_home. You can then:
- Call
script.leaving_homefrom a leaving-home automation - Call
script.leaving_homewith a long press on an entryway Zigbee button - Call
script.leaving_homewhen you tell the voice assistant, “I’m leaving” - Call
script.leaving_homefrom a large dashboard button
If you later decide that leaving home should also turn off the water dispenser, you only need to edit the script. All four callers pick up the change. That is the value of keeping logic in one place.
Scripts vs automations vs scenes
New users often confuse these three terms. Here is the distinction:
- Automation: Consists of triggers, conditions, and actions, and starts on its own when triggered. Example: trigger at sunset.
- Script: Contains only a sequence of actions. It does not start on its own; it must be called. It can include delays, loops, and conditional branches, making it much more flexible than a scene.
- Scene: A snapshot of entity states, such as lights at 60%, air conditioning at 26°C, and blinds at 100%. Activating it immediately sets every entity to its specified state. It cannot contain delays or logic.
- “Set 5 lights to fixed brightness levels at once” → scene (the simplest option)
- “Do A, wait 3 seconds, do B, and only do C if X is true” → script (it contains logic)
- “Automatically do X at 7 a.m.” → automation (it has a trigger)
Hands-on: your first script, “Leaving Home”
service: with action: (since Home Assistant 2024.8). Developer Tools moved from the sidebar to Settings → Tools in 2026.2. In 2026.8, Developer Tools was shortened to Tools, and its former “Services” tab is now called “Actions”. Home Assistant can still read the old YAML syntax, but the interface no longer uses the old names.-
Settings → Automations & scenes → Scripts
Select “+ Add script” in the bottom-right corner, then select “Create new script”. (“From blueprint” is also available, but start with a blank script for now.)
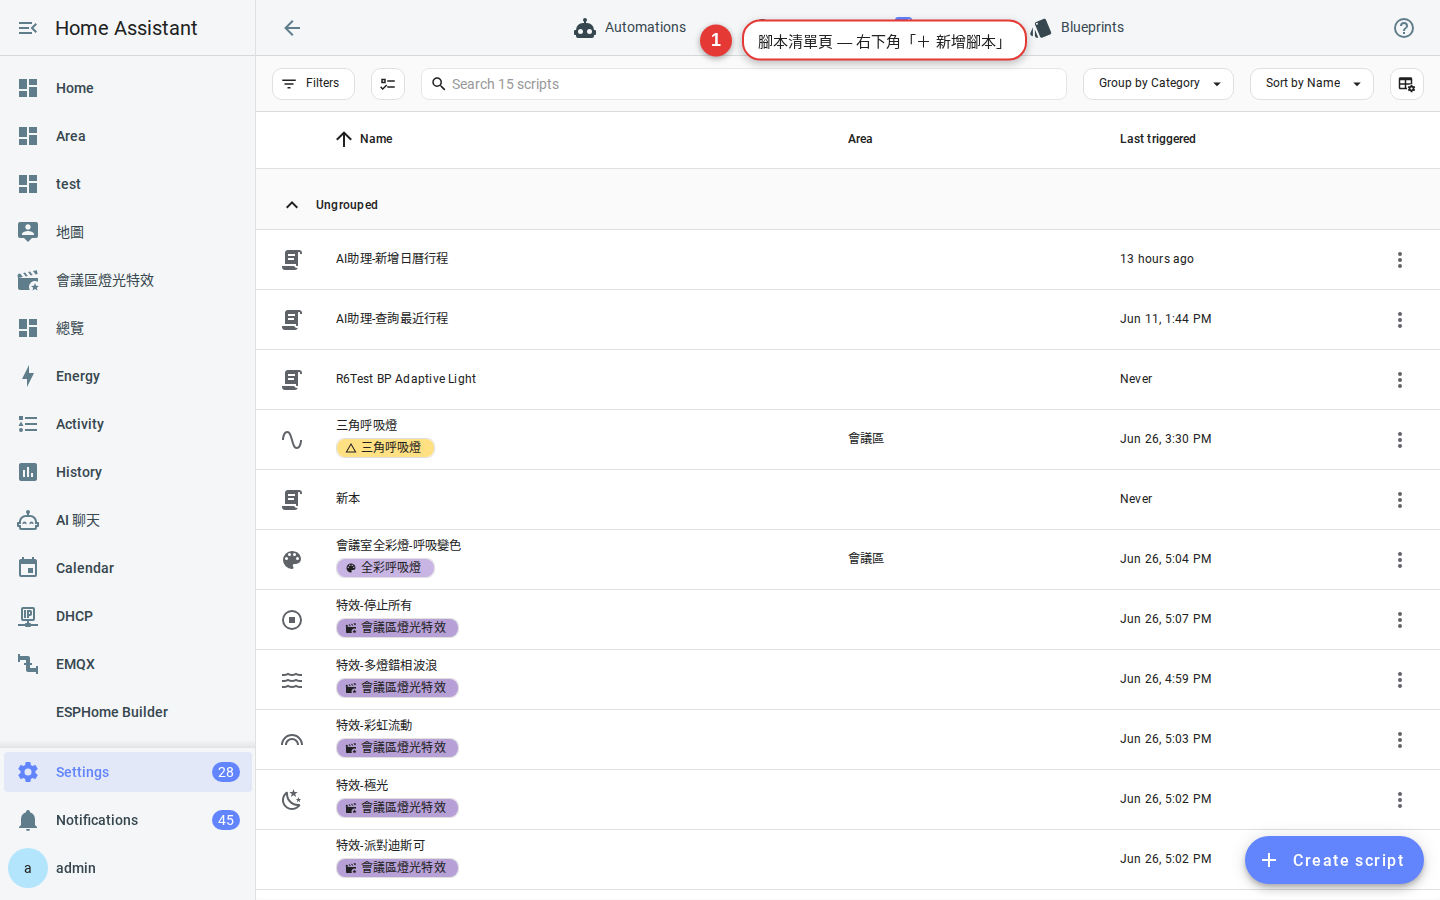
Figure 10-1 The script management page lists every script you have created. -
Enter a name and icon
Name: “Leaving Home”
Icon:mdi:door-open(browse the options at pictogrammers.com)
The page automatically generates the entity IDscript.leaving_home. You will use this ID to call the script later, so choose a memorable, stable name. -
Add an action: turn off all lights
Select “+ Add action” → “Perform action” (called “Call service” in older versions) →
light.turn_off.
Target: Rather than selecting each light individually, target the appropriate area or use the “Lights” label introduced in Chapter 4. New lights will then be included automatically.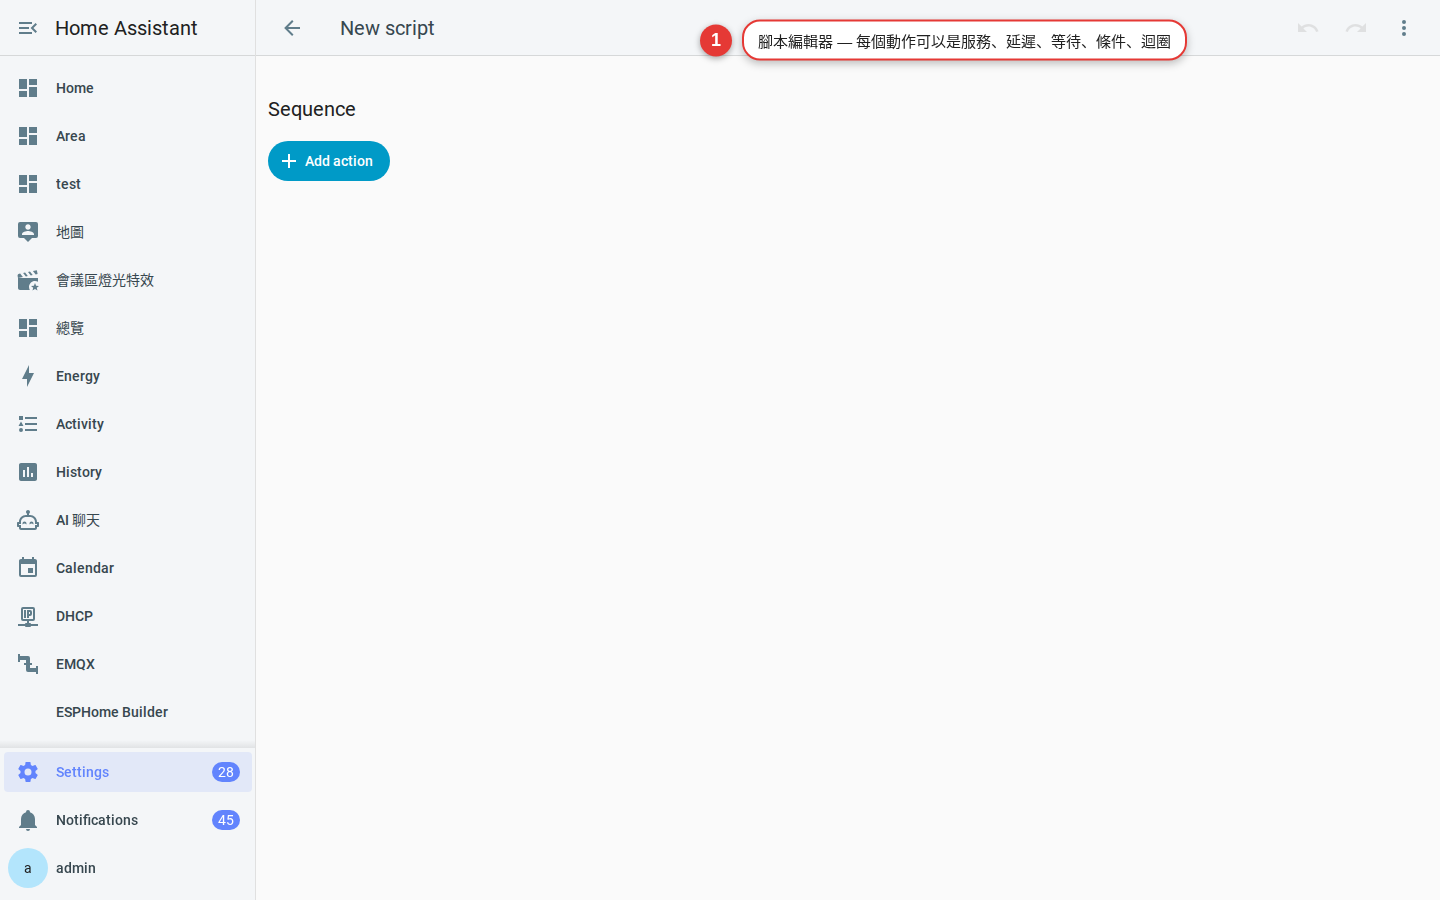
Figure 10-2 Targeting an area or label is more robust than selecting lights one by one. -
Add an action: turn off the air conditioning
Select “+ Add action” →
climate.turn_off→ target all climate entities, or use an “Air conditioning” label. -
Add an action: wait 30 seconds
Select “+ Add action” → “Delay” → 30 seconds. Unlike a scene, a script can arrange actions in a timed sequence.
-
Add an action: turn off the entryway light
Select “+ Add action” →
light.turn_off→ target the individual entryway light entity. Purpose: The earlier action turns off the rest of the house, while the entryway light remains on for 30 seconds so that you have time to put on your shoes and leave. -
Add an action: send a push notification
Select “+ Add action” →
notify.mobile_app_your_phone(see Chapter 7) → enter the message “Leaving Home activated ✅”. Your phone will then alert you if you activate the script accidentally. -
Select “Save” in the top-right corner, then test the script (▶)
After you save, the orange “Save” indicator at the top turns green. Select “Run script” to test it. If every action works, your phone should receive the notification.
Verification: Go to Settings → Tools → Actions and callscript.leaving_home. It should run the complete sequence there as well. Calling it from the Scripts page, Settings → Tools, a dashboard, or an automation is equivalent.
Add parameters (fields) to make the script customisable
The script currently fixes the delay at 30 seconds. What if you want 60 seconds at night but 15 seconds during the day? Add a field:
-
Edit the script → “⋮” → “Edit in YAML”
You can also add a field in the “Fields” section at the bottom of the script editor, but YAML makes the complete definition easy to review. Add:
fields: delay_seconds: name: Entryway light delay description: Seconds before turning off the entryway light default: 30 selector: number: min: 5 max: 300 unit_of_measurement: seconds -
Replace 30 in the action with the variable
- delay:
    seconds: "{{ delay_seconds }}"
You can now pass a value when calling the script:
script.leaving_homewithdelay_seconds: 60. -
Enter the field in the interface
After you add fields, supported script dialogs and action editors automatically display an “Entryway light delay” input when you call this script. Users can then change the value without editing YAML.
number (number), text (text), boolean (toggle), entity (entity picker), area (area picker), and time (time picker). A selector lets the interface display an appropriate control, which is friendlier than a plain text field.Run modes: Single / Restart / Queued / Parallel
What happens if a script is called again while it is still running? As with an automation, its run mode determines the answer:
| Mode | Behaviour | Suitable use cases |
|---|---|---|
single (default) |
Ignore a new call if the script is already running | One-off routines such as leaving home or going to bed |
restart |
Stop the current run and start again from the beginning | Motion-activated lighting, where new movement should restart the delay |
queued |
Queue calls and run them in order | Push notifications and event logging |
parallel |
Run several instances at the same time | Many independent events that may occur simultaneously |
single and you accidentally press the button twice at the door, the second call is discarded—which is appropriate. But if a “fade the living-room lights” script uses single, pressing it again to restart the fade will do nothing. Use restart for that situation.Practical examples
1. Bedtime fade-out (restart mode)
Starting from the current brightness, fade to 1% over 30 seconds, wait another 5 seconds, then turn the light off. Calling the script again midway restarts it.
alias: bedroom_fade_out
mode: restart
sequence:
  - action: light.turn_on
    target:
      entity_id: light.bedroom_main
    data:
      brightness_pct: 1
      transition: 30
  - delay: "00:00:35"
  - action: light.turn_off
    target:
      entity_id: light.bedroom_main
2. Repeat a notification until someone responds (repeat until)
Send a push notification every 3 minutes after the washing machine finishes, stopping when a Zigbee motion sensor detects someone in the laundry room.
alias: nag_until_laundry_picked
mode: restart
sequence:
  - repeat:
      until:
        - condition: state
          entity_id: binary_sensor.laundry_motion
          state: "on"
      sequence:
        - action: notify.mobile_app_dad
          data:
            message: The washing machine has finished. Please collect the laundry!
        - delay: "00:03:00"
3. Conditional branches (choose)
Do different things on arrival depending on the time of day: turn on only the air conditioning during the day, turn on the lights and air conditioning in the evening, or turn on only a night-light late at night.
alias: arriving_home
sequence:
  - choose:
      - conditions:
          - condition: sun
            before: sunset
        sequence:
          - action: climate.turn_on
            target: { entity_id: climate.livingroom }
      - conditions:
          - condition: time
            after: "23:00:00"
        sequence:
          - action: light.turn_on
            target: { entity_id: light.hallway }
            data: { brightness_pct: 20 }
    default:
      - action: light.turn_on
        target: { area_id: livingroom }
      - action: climate.turn_on
        target: { entity_id: climate.livingroom }
4. Parallel actions—the fastest way to switch everything on or off
A normal sequence runs one action after another. Use parallel to start independent actions at the same time:
sequence:
  - parallel:
      - action: light.turn_off
        target: { area_id: livingroom }
      - action: cover.close_cover
        target: { area_id: livingroom }
      - action: media_player.turn_off
        target: { entity_id: media_player.tv }
5. Call another script or scene
sequence:
  - action: scene.turn_on
    target: { entity_id: scene.movie_night }
  - delay: "00:00:02"
  - action: script.turn_on
    target: { entity_id: script.close_all_curtains }
The difference: Calling script.turn_on starts the other script and immediately lets the parent script continue. A direct call such as action: script.other_script waits for the other script to finish before continuing. Use the latter when the scripts must remain synchronised.
How to call a script (4 methods)
-
From the action section of an automation
In the automation, add an action, select “Perform action”, then select
script.leaving_home(or select the script entity directly). Any fields will appear in the editor. -
From a dashboard card
Add a Button card, set its tap action to “Perform action”, select
script.turn_on, and target the script. For a more distinctive design, use a Tile card with a custom icon. -
From a Zigbee remote or scene controller
Use the MQTT or ZHA event approach described in Chapter 8 to capture the button event, then call this script from the action section. You can map long presses, short presses, and double presses to different scripts.
-
From the Assist voice assistant
Expose the script to Assist under Settings → Voice assistants → Expose. You can then invoke it directly by saying, “Hey, Leaving Home”. This is a built-in feature and requires no additional integration.
Common problems
Why does the script stop midway and never continue?
- Check whether a
wait_templateorwait_for_triggerhas no timeout. Addtimeout: "00:00:30"andcontinue_on_timeout: true. - A failed action raises an error and stops the sequence. Add
continue_on_error: trueif the script should skip that action and continue. - Go to Settings → Tools → Actions and test the action on its own. Check for a missing entity or an invalid parameter.
Why do the script fields not appear on a dashboard Button card?
Why does nothing happen when I select “Run script”?
Why is {{ variable }} not replaced in the script?
value: "{{ my_var }}". Quotes can sometimes be omitted for pure numbers or Boolean values, but strings must be quoted. Template expressions such as {{ }} belong in supported values such as data: values; YAML key names cannot be templated.Frequently asked questions
Can a script trigger itself?
Can one script call another? How deeply can scripts be nested?
What happens to an automation that uses a deleted script?
service_registered event only reports registration and does not identify callers.